Trending Articles, Demos and tech notes

Building for One, Part fourteen: four rejections, and Apple were right every time
Building for One, Part one: a calm iPad display for someone living with dementia built a calm daily tablet display for someone in the early stages of dementia. Building for One, Part thirteen: the rejection that made it better told how Apple’s first two rejections gave the app a welcome page, accounts from the tablet and better settings. This last part is about the two rejections that followed, and the email at the end of them.
On 19 October, App Store Connect sent the email every developer waits for: “The following app is ready for distribution.” Daysome 0.6.3, with its household plan, is approved for the App Store. It took four rejections in ten days, and we’d like to mark it, because a lot of small things had to go right to get there, and every one of them made the app better.
TL;DR – Apple were right every time they turned Daysome down, and each rejection left the app more complete than it found it. Patience and politeness got it through, as they always have.
- Details
- Written by: Angus Fox
Read more: Building for One, Part fourteen: four rejections, and Apple were right every time

All-new Apple Watch Series 12 or the Ultra 4?
It's now late 2026 and Apple has just announced the Apple Watch Series 12 and Apple Watch Ultra 4 — both powered by the new S11 chip and featuring a redesigned Health Sensing System. I'm still wearing the second-hand Ultra 2 I bought from CeX back in September 2024. The battery hasn't degraded noticeably, the case is still in excellent condition, and although I've worn through two straps I consider they really are just consumables. So the question I'm asking myself right now is the same one I asked two years ago, just updated: is there a compelling reason to upgrade? My honest answer, after looking carefully at what's new, is not yet — but the landscape has shifted enough that the comparison is worth revisiting properly, especially if you're coming to this fresh and trying to decide between the current lineup.
TL;DR — Apple's September 2026 event brought genuinely new technology to the Watch lineup for the first time in a while, with the S11 chip, higher-frequency heart rate and HRV sensing, a new readiness score feature, and a redesigned Health app arriving later in 2026. The Ultra 4 now claims up to 45 hours of outdoor workout battery life. These are real improvements, not just colour refreshes. But if you already own an Ultra 2 in good condition, the core experience — long battery life, rugged titanium case, full WatchOS feature set — remains entirely competitive. If you're buying new today, the Ultra 4 and Series 12 are the ones to consider. If you're buying smart on a budget, the Ultra 2 and Series 10 have dropped significantly in price on the second-hand market and remain excellent watches.
- Details
- Written by: Angus Fox

iPhone 18 Pro Max: Which Features Actually Justify an Upgrade
iPhone 18 Pro Max: A Flagship Built for Selective Upgraders
Apple's iPhone 18 Pro Max arrives as one of the most specification-dense handsets the company has produced, yet its headline advances are unlikely to resonate equally for every iPhone model user. For industry professionals evaluating device refresh cycles and fleet investment decisions, the central question is not whether the hardware is impressive, but whether the improvements are substantive enough to justify the cost relative to the iPhone users already carry.
- Details
- Written by: Angus Fox
Read more: iPhone 18 Pro Max: Which Features Actually Justify an Upgrade

Headless Remote Desktop on Ubuntu - working reliable
Setting up GNOME Remote Desktop for headless multi-user RDP access on Ubuntu 25.10 (Questing Quokka) is trickier than it should be. This guide documents a working approach using only the software shipped with Ubuntu Desktop — no extra packages required — and uses openssl to generate TLS certificates. It covers common errors and how to resolve them, and reflects what actually works in 2026.
TL:DR – Getting this right on Ubuntu 25.04 was a frustrating experience. After several hours of digging, headless multi-user RDP on 25.10 finally works reliably, and the approach below is the result of that effort.
- Details
- Written by: Angus Fox
Read more: Headless Remote Desktop on Ubuntu - working reliable

Use and scroll with Apple Magic Mouse on Windows 11 PC
You do not have to abandon Windows just to enjoy the precision, build quality, and touch-surface elegance of the Apple Magic Mouse. I run a dedicated Windows 11 machine for client work and I like my desk accessories to be consistent across every setup, so I set about making the Magic Mouse work properly on Windows. In this guide I will walk you through connecting and fully enabling the Magic Mouse on your Windows 11 PC — including scrolling. Pick up an Apple Magic Mouse in Black or White from Amazon UK and let's get into it.
TL:DR – I resisted the Magic Mouse for years, then got one with a Mac and slowly came round to the feel and the freedom. Now I have that same experience on Windows too.
- Details
- Written by: Angus Fox
Read more: Use and scroll with Apple Magic Mouse on Windows 11 PC

New Cassette deck in 2026
Do you need a new cassette recorder, in 2025?
Can I finally digitise my old analog Compact Cassette tapes to Digital audio?
Last year during the holidays, while unpacking boxes, I found my collection of cassette tapes from the 20th century! I never threw them away it seems, even though I haven't had a cassette player connected to my home audio system for decades. Handling and looking through my tapes evoked many memories of recording and playing them, whether they were concert bootlegs, band practices, or taped off the radio. I remembered too the important process of writing out the track listing and decorating the cassette tape labels and covers.
Vintage cassette players and recorders, are expensive and full of compromises on eBay but seem to have a devoted following among collectors, vinyl enthusiasts, and music lovers who perhaps are nostalgic for the warm sound of analog audio and the hiss of tape. Professional and semi professional restoration shops sell them too, often with warranties. I looked up my old long lost Sony Walkman DC2 and the prices are in the stratosphere for this, the king of the Walkman players and much loved by me. So much so that it made me wonder if anyone makes new cassette players and recorders these days. Even Phillips the inventor of the format has no Cassette players or decks in it's current line up. This to me seems both sad and wrong.
But, there are a couple of decent pro audio and HiFi decks around and this is a little bit of a rabbit hole!
TL:DR — Compact cassettes are making a comeback due to their nostalgic appeal, unique sound quality, and resurgence of interest in physical media. If you have the means theres still one Pro Audio and one HiFi consumer cassette deck available in new condition with USB out. Both have the exact same mechanism with a few styling differences, chiefly rack mount capability and one additional playback function on the Pro Audio version. Both are expensive so shop around. If you're looking for a second hand professional level Cassette Deck in 2024 read my other article Tascam 302 Cassette recorder.
- Details
- Written by: me

Building for One, Part one: a calm iPad display for someone
This is the first part of a build-in-public series about an app we have been thinking about for a year or more, finally started work on, and are still building. It is called Daysome, although the icon reads My Day. It shows one person, on one iPad, what day it is, what is happening now, what is coming next, and what is for tea. That is the whole thing.
We are writing this up as we go rather than after the fact, partly because the interesting decisions are the ones that get forgotten once a product looks finished, and partly because we are looking for a small number of families and care professionals to test it on real hardware. If that might be you, there is a note at the end.
Daysome - a calm iPad display for someone living with dementia
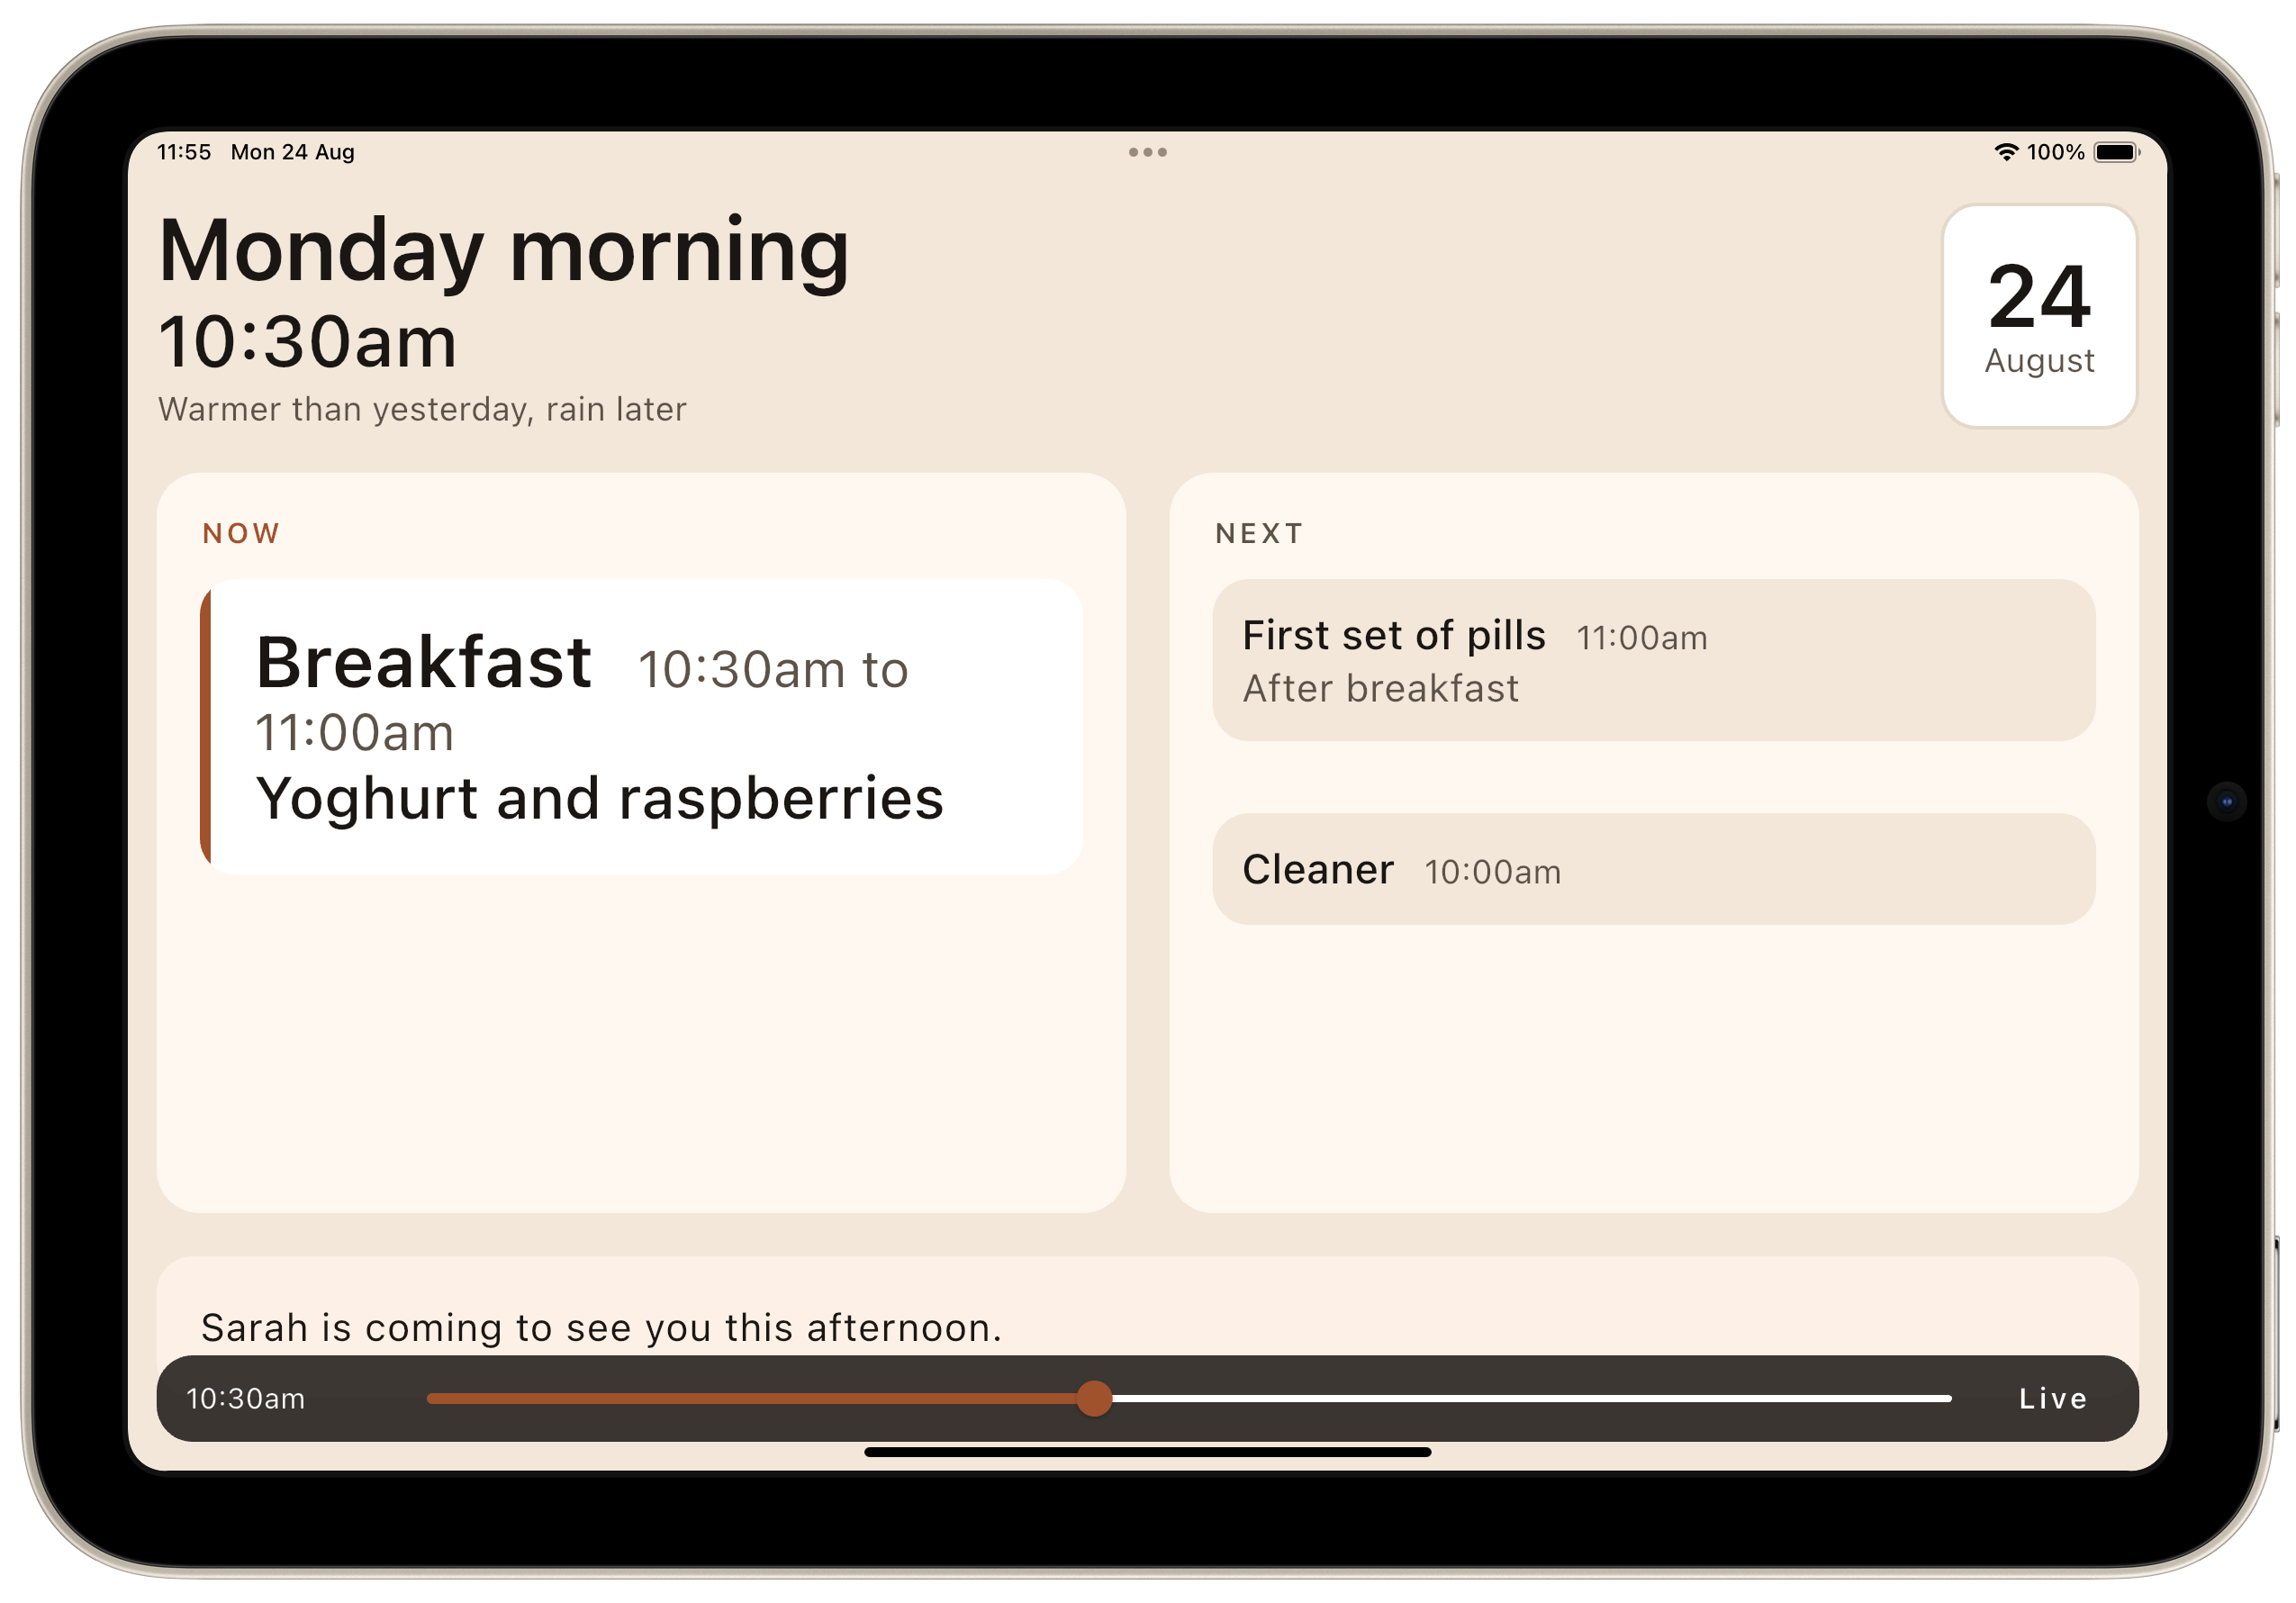
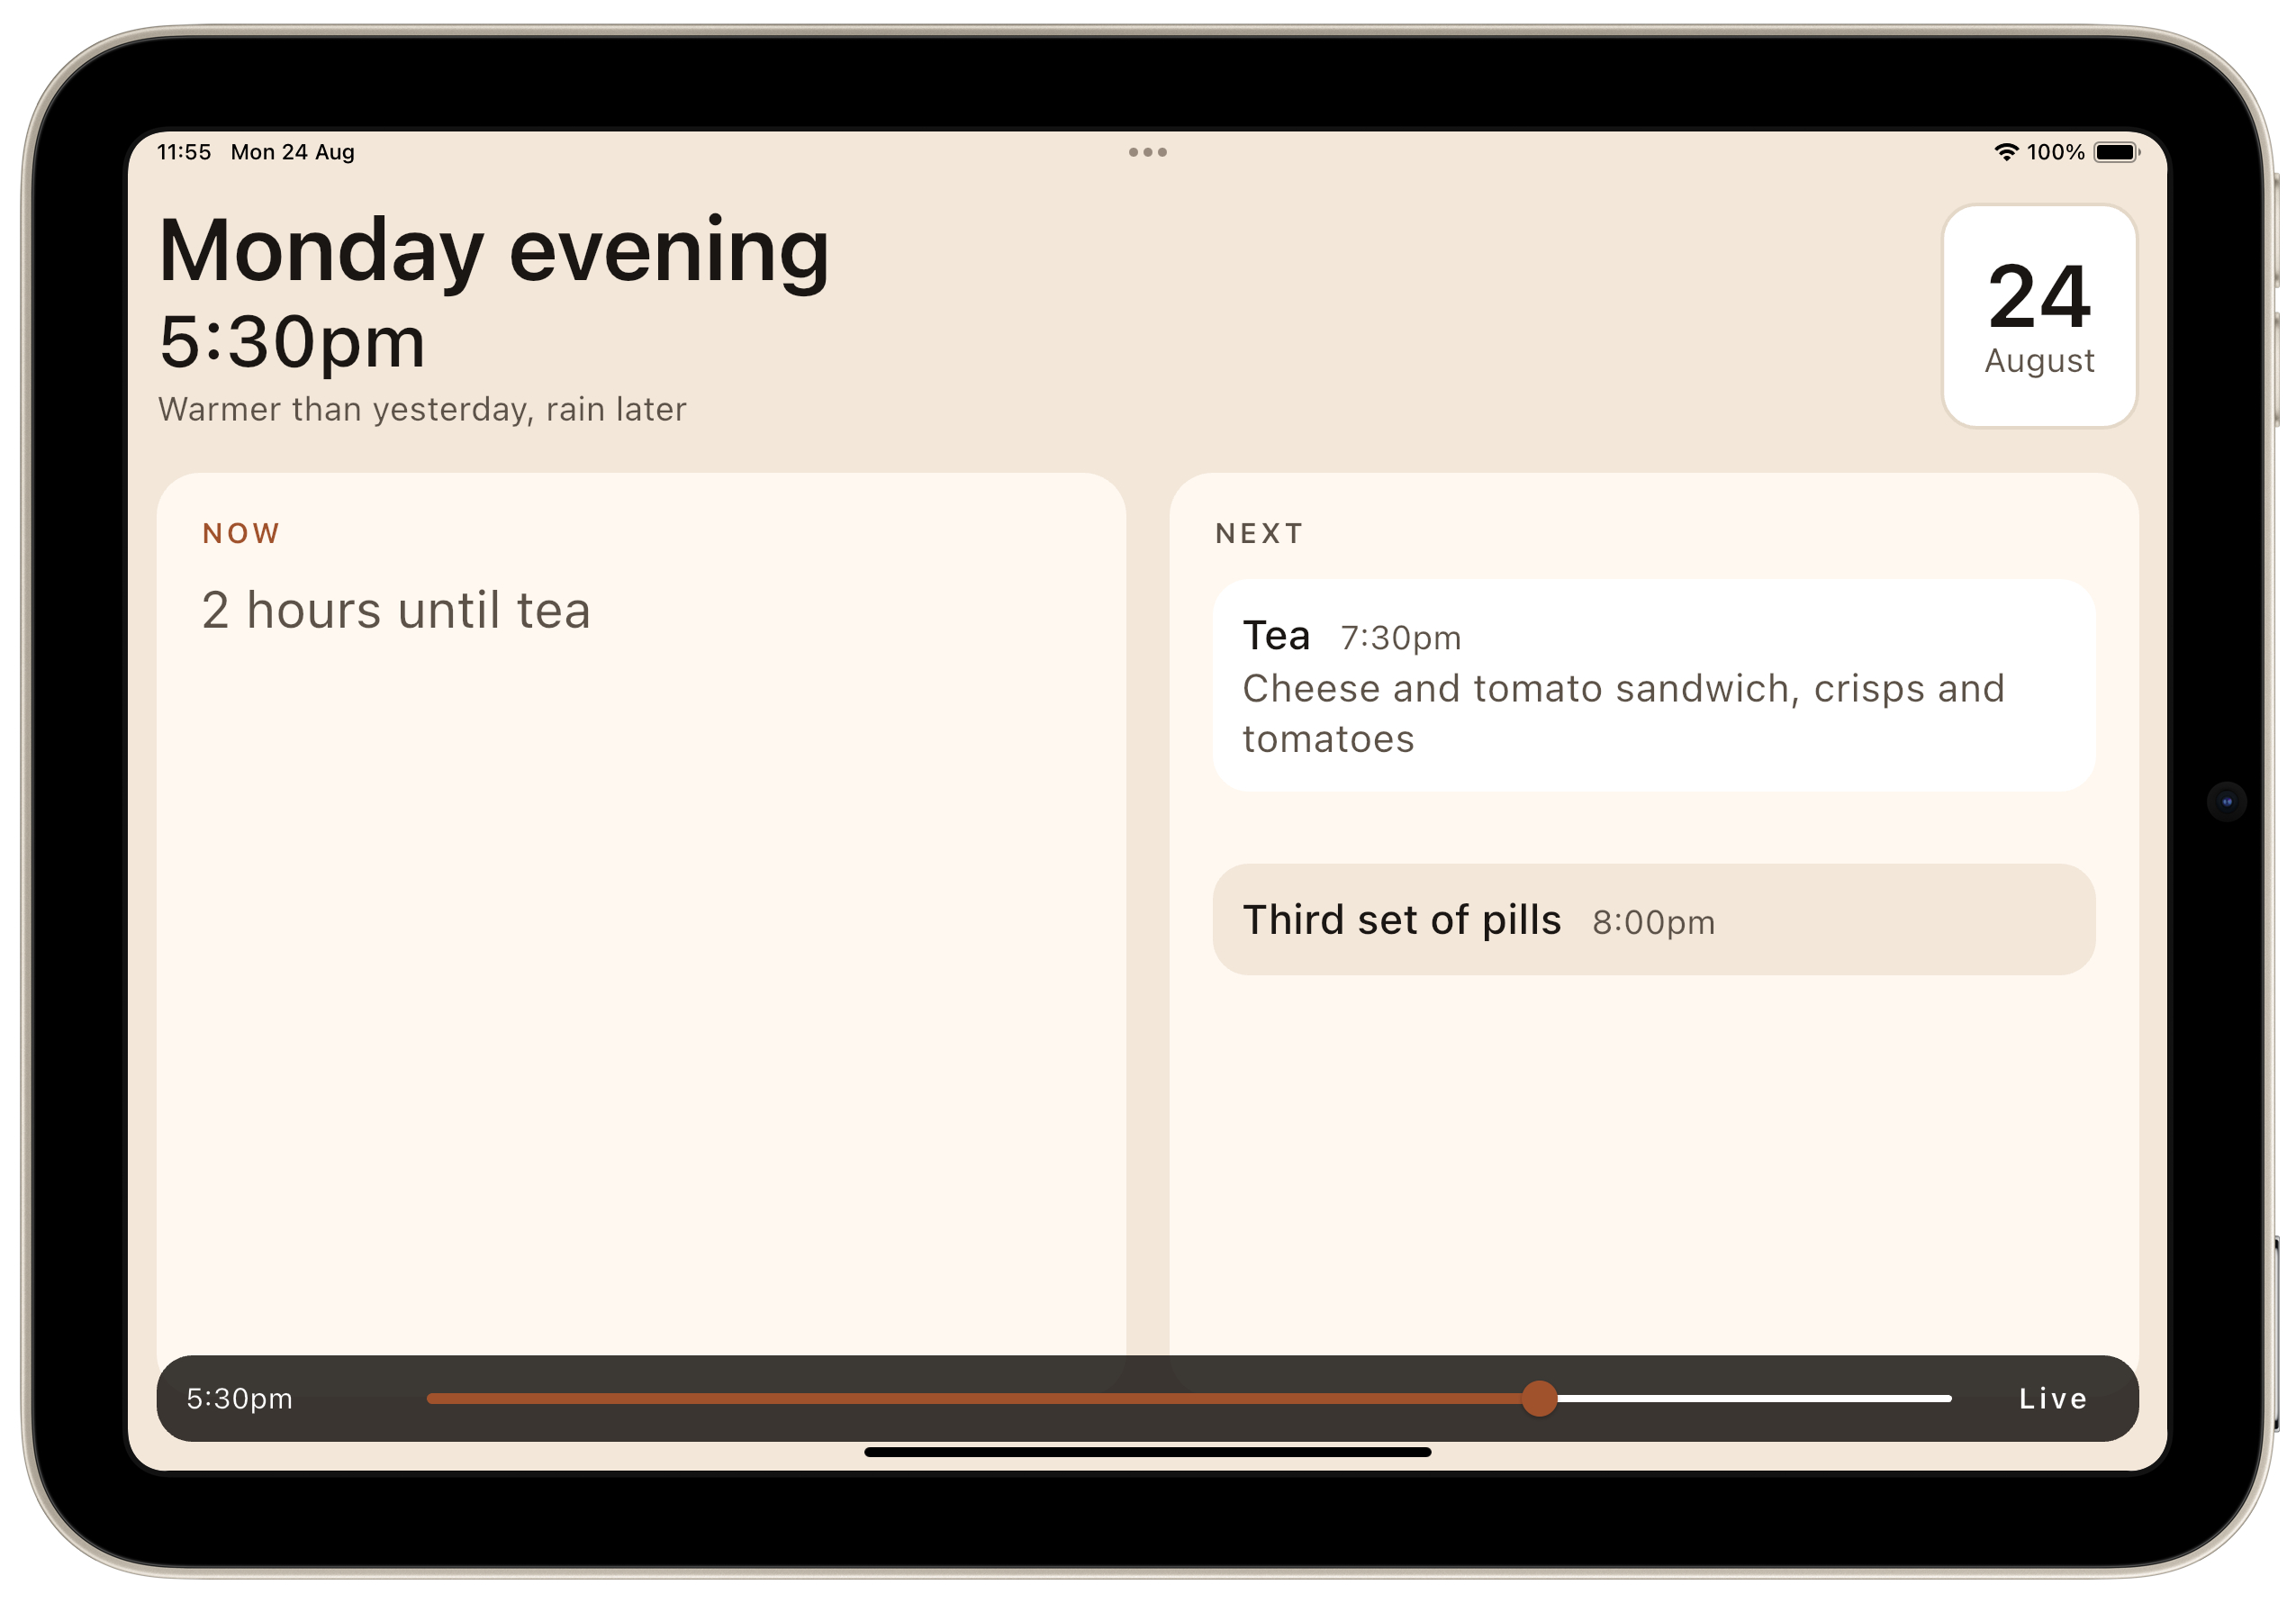
TL;DR – Part one covers the first few days: where the idea came from, why we chose the stack we did, how the requirements arrived, one small development tool that saved more time than anything else we built, and the point at which we put it under version control and pointed it at TestFlight, Apple's app testing system for the App Store.
- Details
- Written by: Angus Fox
Read more: Building for One, Part one: a calm iPad display for someone

Building for One, Part two: what it costs to buy one command
Building for One, Part one: a calm iPad display for someone living with dementia ended with an app that ran. A calm iPad display for someone in the early stages of dementia — what day it is, what is happening now, what is next, and what is for tea. Tested, documented, and living entirely on one laptop. If you are less interested in the tooling feel free to skip to Building for One, Part three: what a real iPad changed
TL;DR – Part two is about the two days spent turning that into this:
git push origin v0.1.0-beta1One command. It runs the audit, builds both platforms, archives and signs iOS against a pinned certificate, signs Android with its own upload key, and delivers to TestFlight and Google Play internal testing. Both stores, from one tag.
- Details
- Written by: Angus Fox
Read more: Building for One, Part two: what it costs to buy one command

Building for One, Part three: what a real iPad changed
Building for One, Part one: a calm iPad display for someone living with dementia built a calm daily display for someone in the early stages of dementia. Building for One, Part two: what it costs to buy one command spent two days turning it into one command that ships to both stores. This part is about the afternoon it finally ran on a real iPad, and how much of the design turned out to be wrong.
Not broken, just wrong in the way things are wrong when you have only ever seen them on a desktop display.
TL;DR – A simulator tells you whether something fits. Only a device tells you whether it reads. And only a person tells you whether any of it was the right idea.
- Details
- Written by: Angus Fox
Read more: Building for One, Part three: what a real iPad changed

Building for One, Part four: £200 tablet just worked
Building for One, Part one: a calm iPad display for someone living with dementia built a calm daily display for someone in the early stages of dementia. Building for One, Part two: what it costs to buy one command spent two days turning it into one command that ships to TestFlight and Play. Building for One, Part three: what a real iPad changeddiscovered, on a real device, how much of the design had been wrong.
This part is shorter and cheaper, and it starts with something that is meant to be a treat in build-in-public writing: a thing that worked first time.
TL;DR – A £200 Amazon Fire Max 11 tablet ran the build with no changes at all. Then we read the real screen numbers off the device, which proved a careful hedge wrong and uncovered a live layout bug in about ninety seconds. The lesson is about the guess, not the bug.
- Details
- Written by: Angus Fox
Read more: Building for One, Part four: £200 tablet just worked

Building for One, Part six: four names for one app
Building for One, Part one: a calm iPad display for someone living with dementia built a calm daily tablet display for someone in the early stages of dementia, and Building for One, Part five: everybody reads it before she does got it into three app stores. This part is a coda, written while we wait for feedback rather than build anything.
It is about the names. There are four of them, and that is not an accident or an oversight.
TL;DR – A name is not a brand, it is an answer to a question, and four different people ask four different questions.
- Details
- Written by: me
Read more: Building for One, Part six: four names for one app
- Building for One, Part five: everybody read it before her
- Rotating the root of trust — break-glass key rotation
- Five alternatives to the Google Pixel 10a
- Linux Formally Embraces AI Code Contributions
- Gitea with Let's Encrypt on macOS via Homebrew
- New rules to protect children online in the UK
- Why Chrome couldn't reach my LAN web server on macOS, and
- GitHub Copilot’s Data Policy Shift: What It Means for
- Why the New Low Cost MacBook Neo is a Game Changer
- From Local Builds to Production DevOps: Automating Joomla
- Running Homebrew Apache with Let's Encrypt SSL on macOS
- Beyond the glimmer of Liquid Glass is a sparkle concealing