
Terminal prompt with architecture in 2026
If you are running macOS on Apple Silicon — or still maintaining Intel machines alongside them — your terminal prompt can do more work for you. In a world where Rosetta 2 translation, native arm64 binaries, and cross-architecture Docker builds are everyday realities, knowing at a glance which architecture your current shell is running under is genuinely useful. zsh-powerline, a shell implementation inspired by the powerline statusline plugin for vim, makes this easy to set up and keep tidy.
For me, modifications must not hurt performance and should not be distracting. Prompt elements must be things I really need to know about the current environment right now — not decorative noise.
The text colours are a nod to the terminals I used at Sun Microsystems. Some things are worth keeping.
 When you ssh to a different machine running the same zsh environment, the prompt updates automatically. That is exactly what I need.
This prompt shows username, hostname, architecture, git branch, exit status of the last command, OS symbol, and shell prompt character. When you connect to an Intel-based Mac or a Linux box, the architecture segment changes to reflect it. That distinction matters more now than it did when Apple Silicon first launched — the ecosystem has matured, the edge cases are subtler, and the consequences of running the wrong binary silently under Rosetta are harder to spot.
Contents
Why architecture still matters in your prompt
By 2026 the vast majority of Mac hardware shipped is Apple Silicon — M3, M4, and their Pro, Max, and Ultra variants — but mixed fleets remain common in teams and homelabs. More importantly, developers routinely open Rosetta-translated terminal sessions deliberately, to build or test x86_64 code, run older toolchains, or work with containers targeting amd64. A plain shell gives you no signal about which world you are currently in. A single architecture segment in your prompt removes that ambiguity entirely.
The same applies when you are ssh-ing between machines. A remote Linux server running on x86_64 hardware, an arm64 Raspberry Pi, or an AWS Graviton instance all look identical in a plain prompt. The architecture segment tells you immediately where you are and what instruction set you are targeting — which matters the moment you start compiling, packaging, or debugging.
zsh-powerline with architecture
I forked zsh-powerline to add my changes and keep them in GitHub for easy redeployment across machines. You can find the fork in the multizone branch: https://github.com/multizone-uk/zsh-powerline/tree/multizone
The core change is straightforward: add a dedicated colour for the architecture segment, wire it into the prompt configuration, and adjust the segment order to taste. The architecture value is pulled from uname -m, which returns arm64 on native Apple Silicon sessions and x86_64 on Intel or Rosetta sessions. Full setup details are in the README.
If you use Oh My Zsh — which has grown considerably in adoption and plugin quality since the original version of this article — the same approach works cleanly as a custom theme. The powerline font requirement is unchanged: install a Nerd Font or a patched powerline font and set it as your terminal font before you do anything else, otherwise the segment separators render as placeholder boxes.
One thing worth noting for 2026 setups: if you manage your dotfiles with a tool like chezmoi or yadm, the zsh theme file drops in cleanly as a managed template. That makes deploying the same prompt across a new MacBook, a cloud dev environment, or a remote Linux server a single command rather than a manual copy-paste exercise.
Terminal settings
I rarely touch terminal settings on macOS, but while building this prompt I made a few adjustments worth sharing. I use 132×50 columns and rows — a deliberate callback to 132-column listing paper — and a larger font size than I used to get away with.
On macOS Sequoia and later, the default Terminal.app profile system is unchanged in structure but the built-in profiles have been refreshed. If you are starting from scratch, duplicating the Pro profile and then applying the settings below is the quickest path. Alternatively, iTerm2 and the increasingly popular Ghostty terminal both import and export profiles as JSON or plain text, which pairs well with a dotfiles repository.


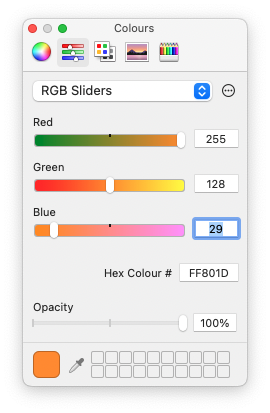
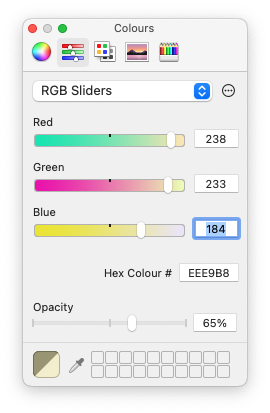
Text colours
The colour choices here are deliberate and personal. The amber and orange tones reference the Sun workstation terminals I spent years in front of. On a modern Retina or Liquid Retina display they are easier on the eye than stark white, and the contrast between normal and bold text is immediately readable without being harsh.

Using sysctl to identify the processor in your Mac
It is not required to make the prompt work, but worth knowing: the macOS sysctl command exposes detailed CPU branding information that goes well beyond what uname -m returns.
% sysctl -n machdep.cpu.brand_string
On an Apple Silicon Mac this returns the full chip identifier — for example Apple M4 Pro — while on an Intel machine it returns the Intel marketing string including clock speed. This is useful for documentation, for bug reports, and for confirming exactly what silicon is underneath when you are diagnosing architecture-specific behaviour. On Apple Silicon it also serves as a quick sanity check that you are not inside a Rosetta session when you expect a native one, since uname -m will return x86_64 in a Rosetta shell regardless of the physical chip.
For a more structured view of the full system — particularly useful when managing a mixed fleet — system_profiler SPHardwareDataType gives you chip, memory, serial number, and provisioning status in one output, and it works consistently across all current macOS versions.