
A client had me set up Google Analytics on WordPress. I'm a Joomla person. What could possibly go wrong?
TL:DR – Step by step setup of Google Analytics 4 (GA4) for a WordPress-based website using Google Site Kit, including how to verify your setup with Google Tag Assistant in 2026.
Contents
- Step by Step Setup of Google Analytics for a WordPress-Based Website
- 1. Introduction
- 2. Prerequisites for Setting Up Google Analytics
- 3. Creating a Google Analytics Account
- 4. Property Setup
- 5. Start Collecting Data
- 6. Installing Google Analytics on WordPress
- 7. Manual Integration Method: Inserting the Google Tag
- 8. Installing Google Analytics Using a Plugin
- 9. Verifying Proper Installation
- 10. Configuring Basic Google Analytics Settings

Step by Step Setup of Google Analytics for a WordPress-Based Website
1. Introduction
In 2026, understanding how visitors interact with your website is no longer a nice-to-have — it's a baseline expectation for any serious web presence. Google Analytics 4 (GA4) is now the only version of Google Analytics available. Universal Analytics was fully retired some time ago and is no longer an option for new or existing setups. GA4 brings event-based tracking, cross-platform measurement, and built-in machine learning insights that go well beyond what its predecessor offered.
If you're running WordPress, the good news is that getting GA4 up and running is straightforward — especially with Google's own Site Kit plugin handling the heavy lifting. This guide walks through the full process, from creating your GA4 property through to verifying your tracking is working correctly using Google Tag Assistant.
2. Prerequisites for Setting Up Google Analytics
Before diving into the setup process, make sure you have two things in place:
- A Google Account: This is the foundation everything else is built on. If you don't already have one, create one before you start.
- WordPress Admin Access: You need administrator-level access to your WordPress site to install plugins and modify settings.
3. Creating a Google Analytics Account
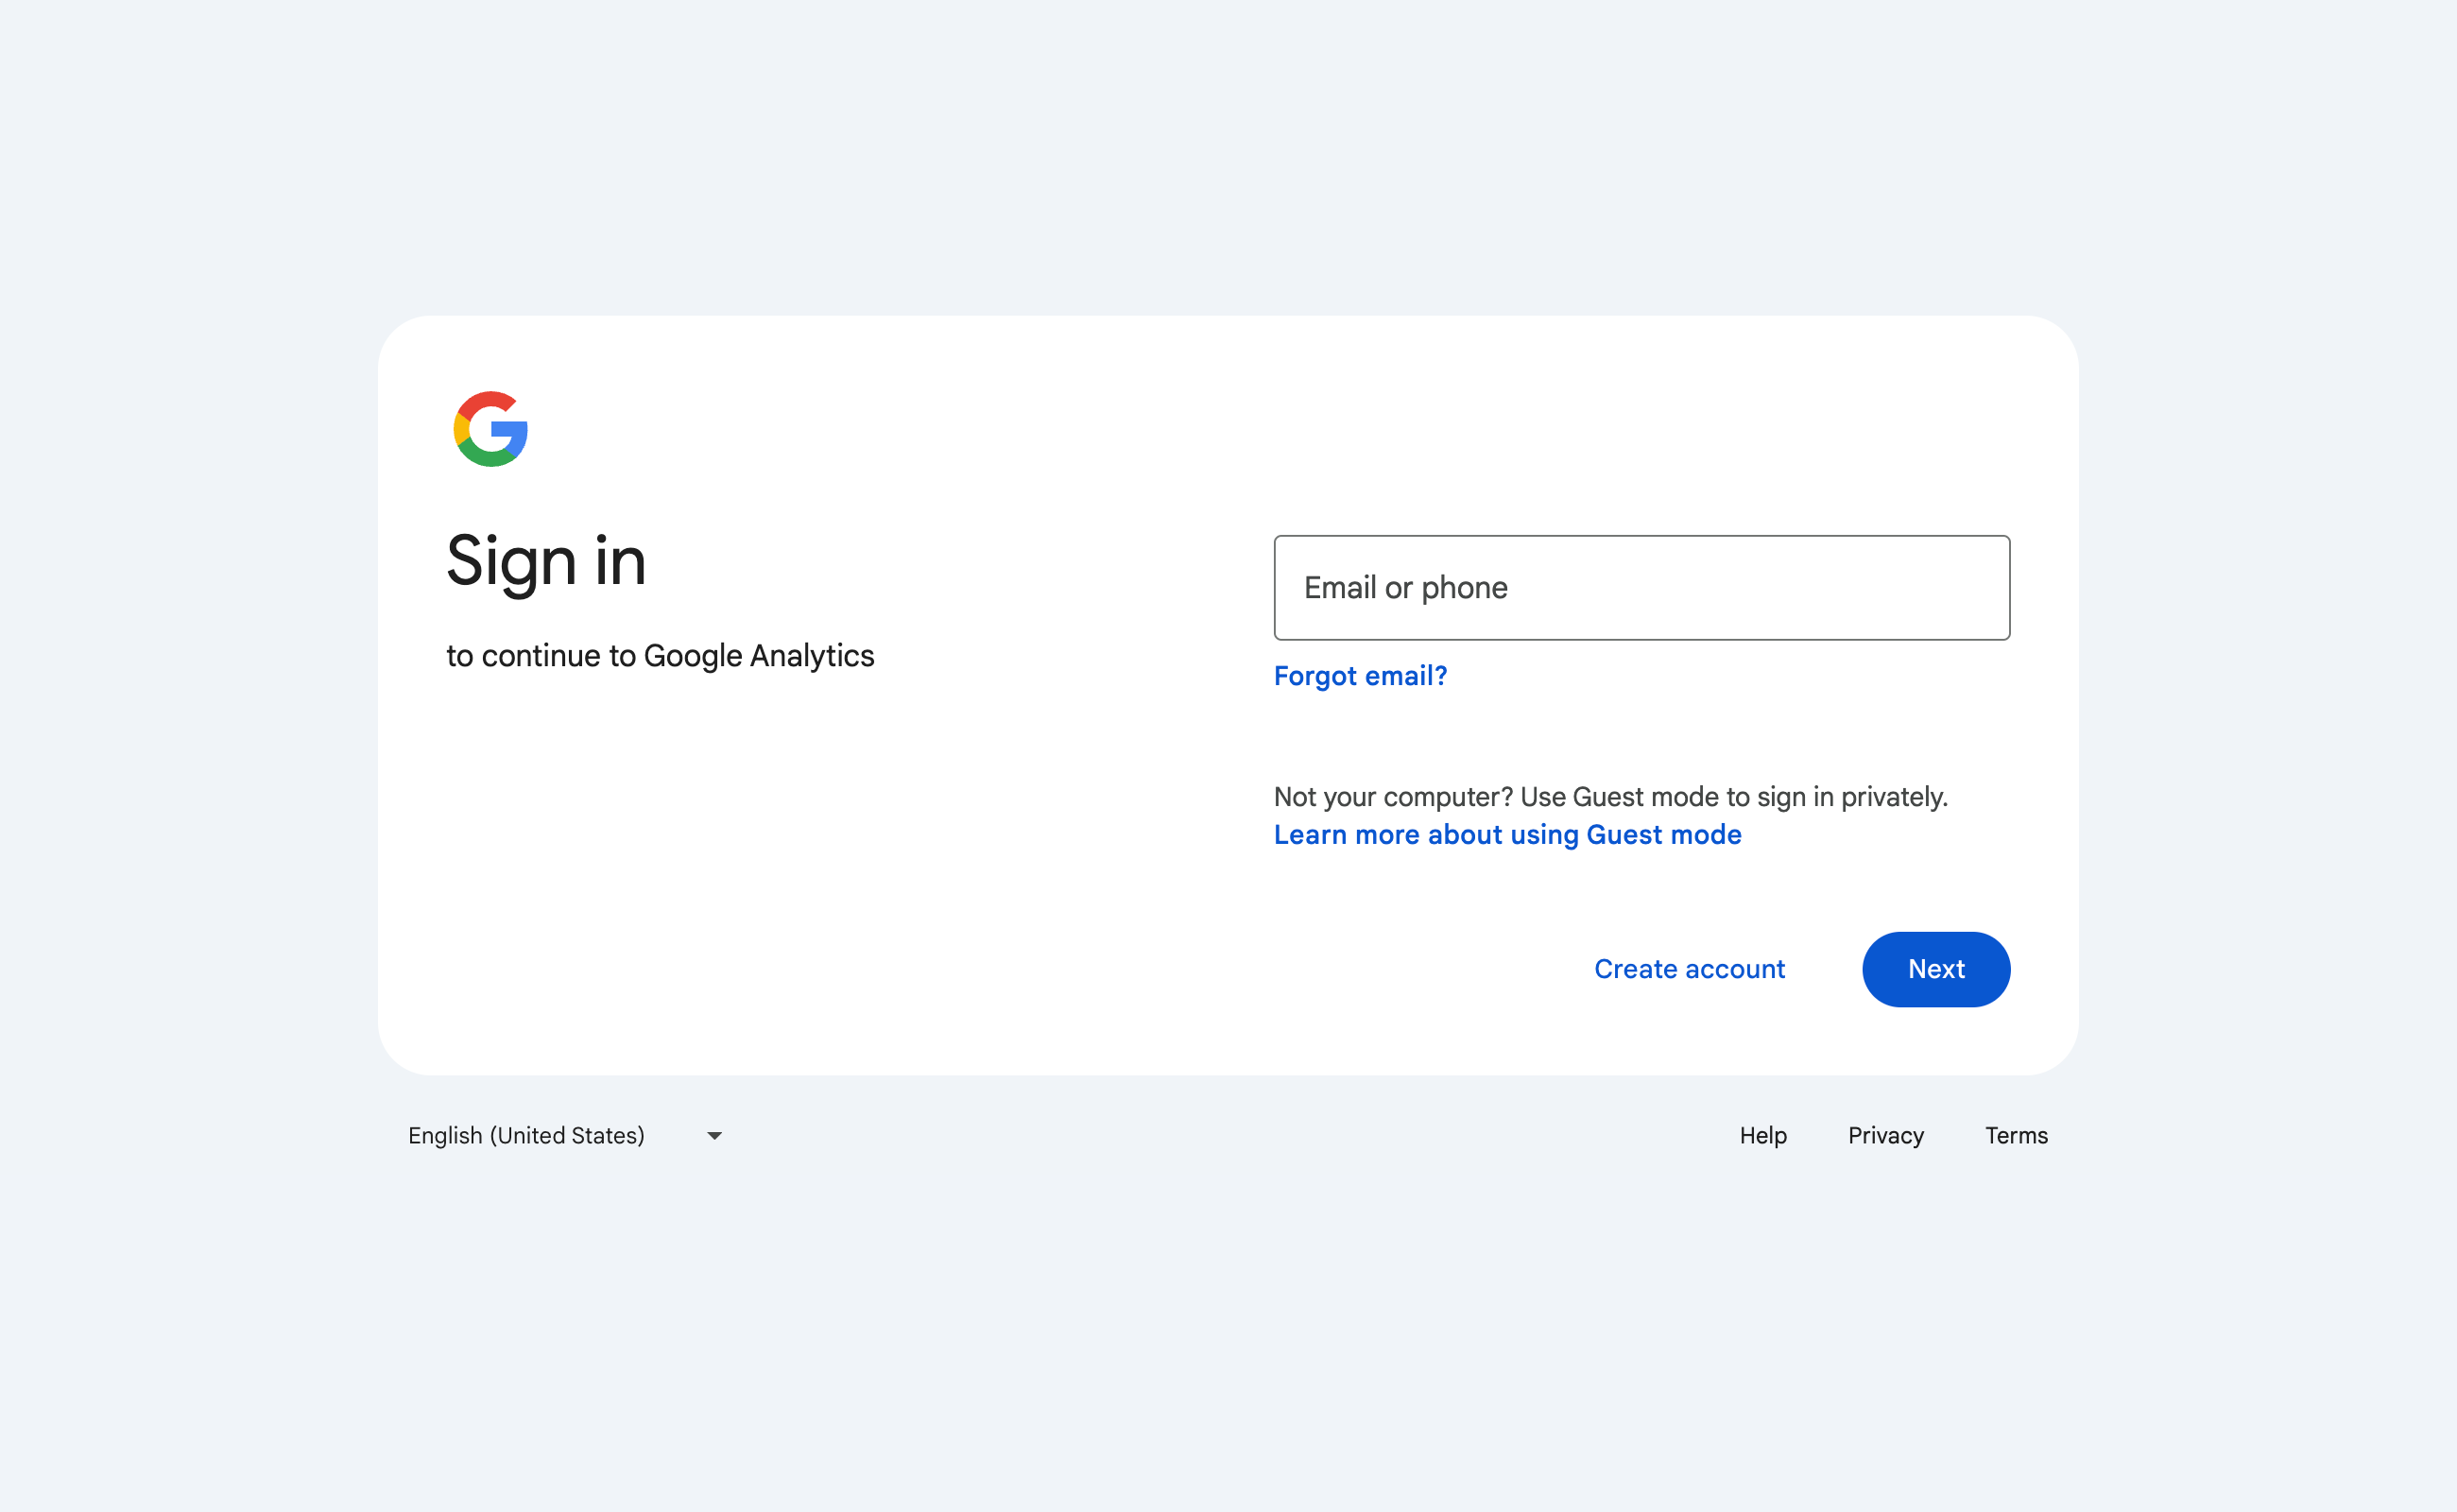
Start by visiting the Google Marketing Platform analytics homepage and click Get started today.

Sign in with your Google account when prompted.
Once logged in:
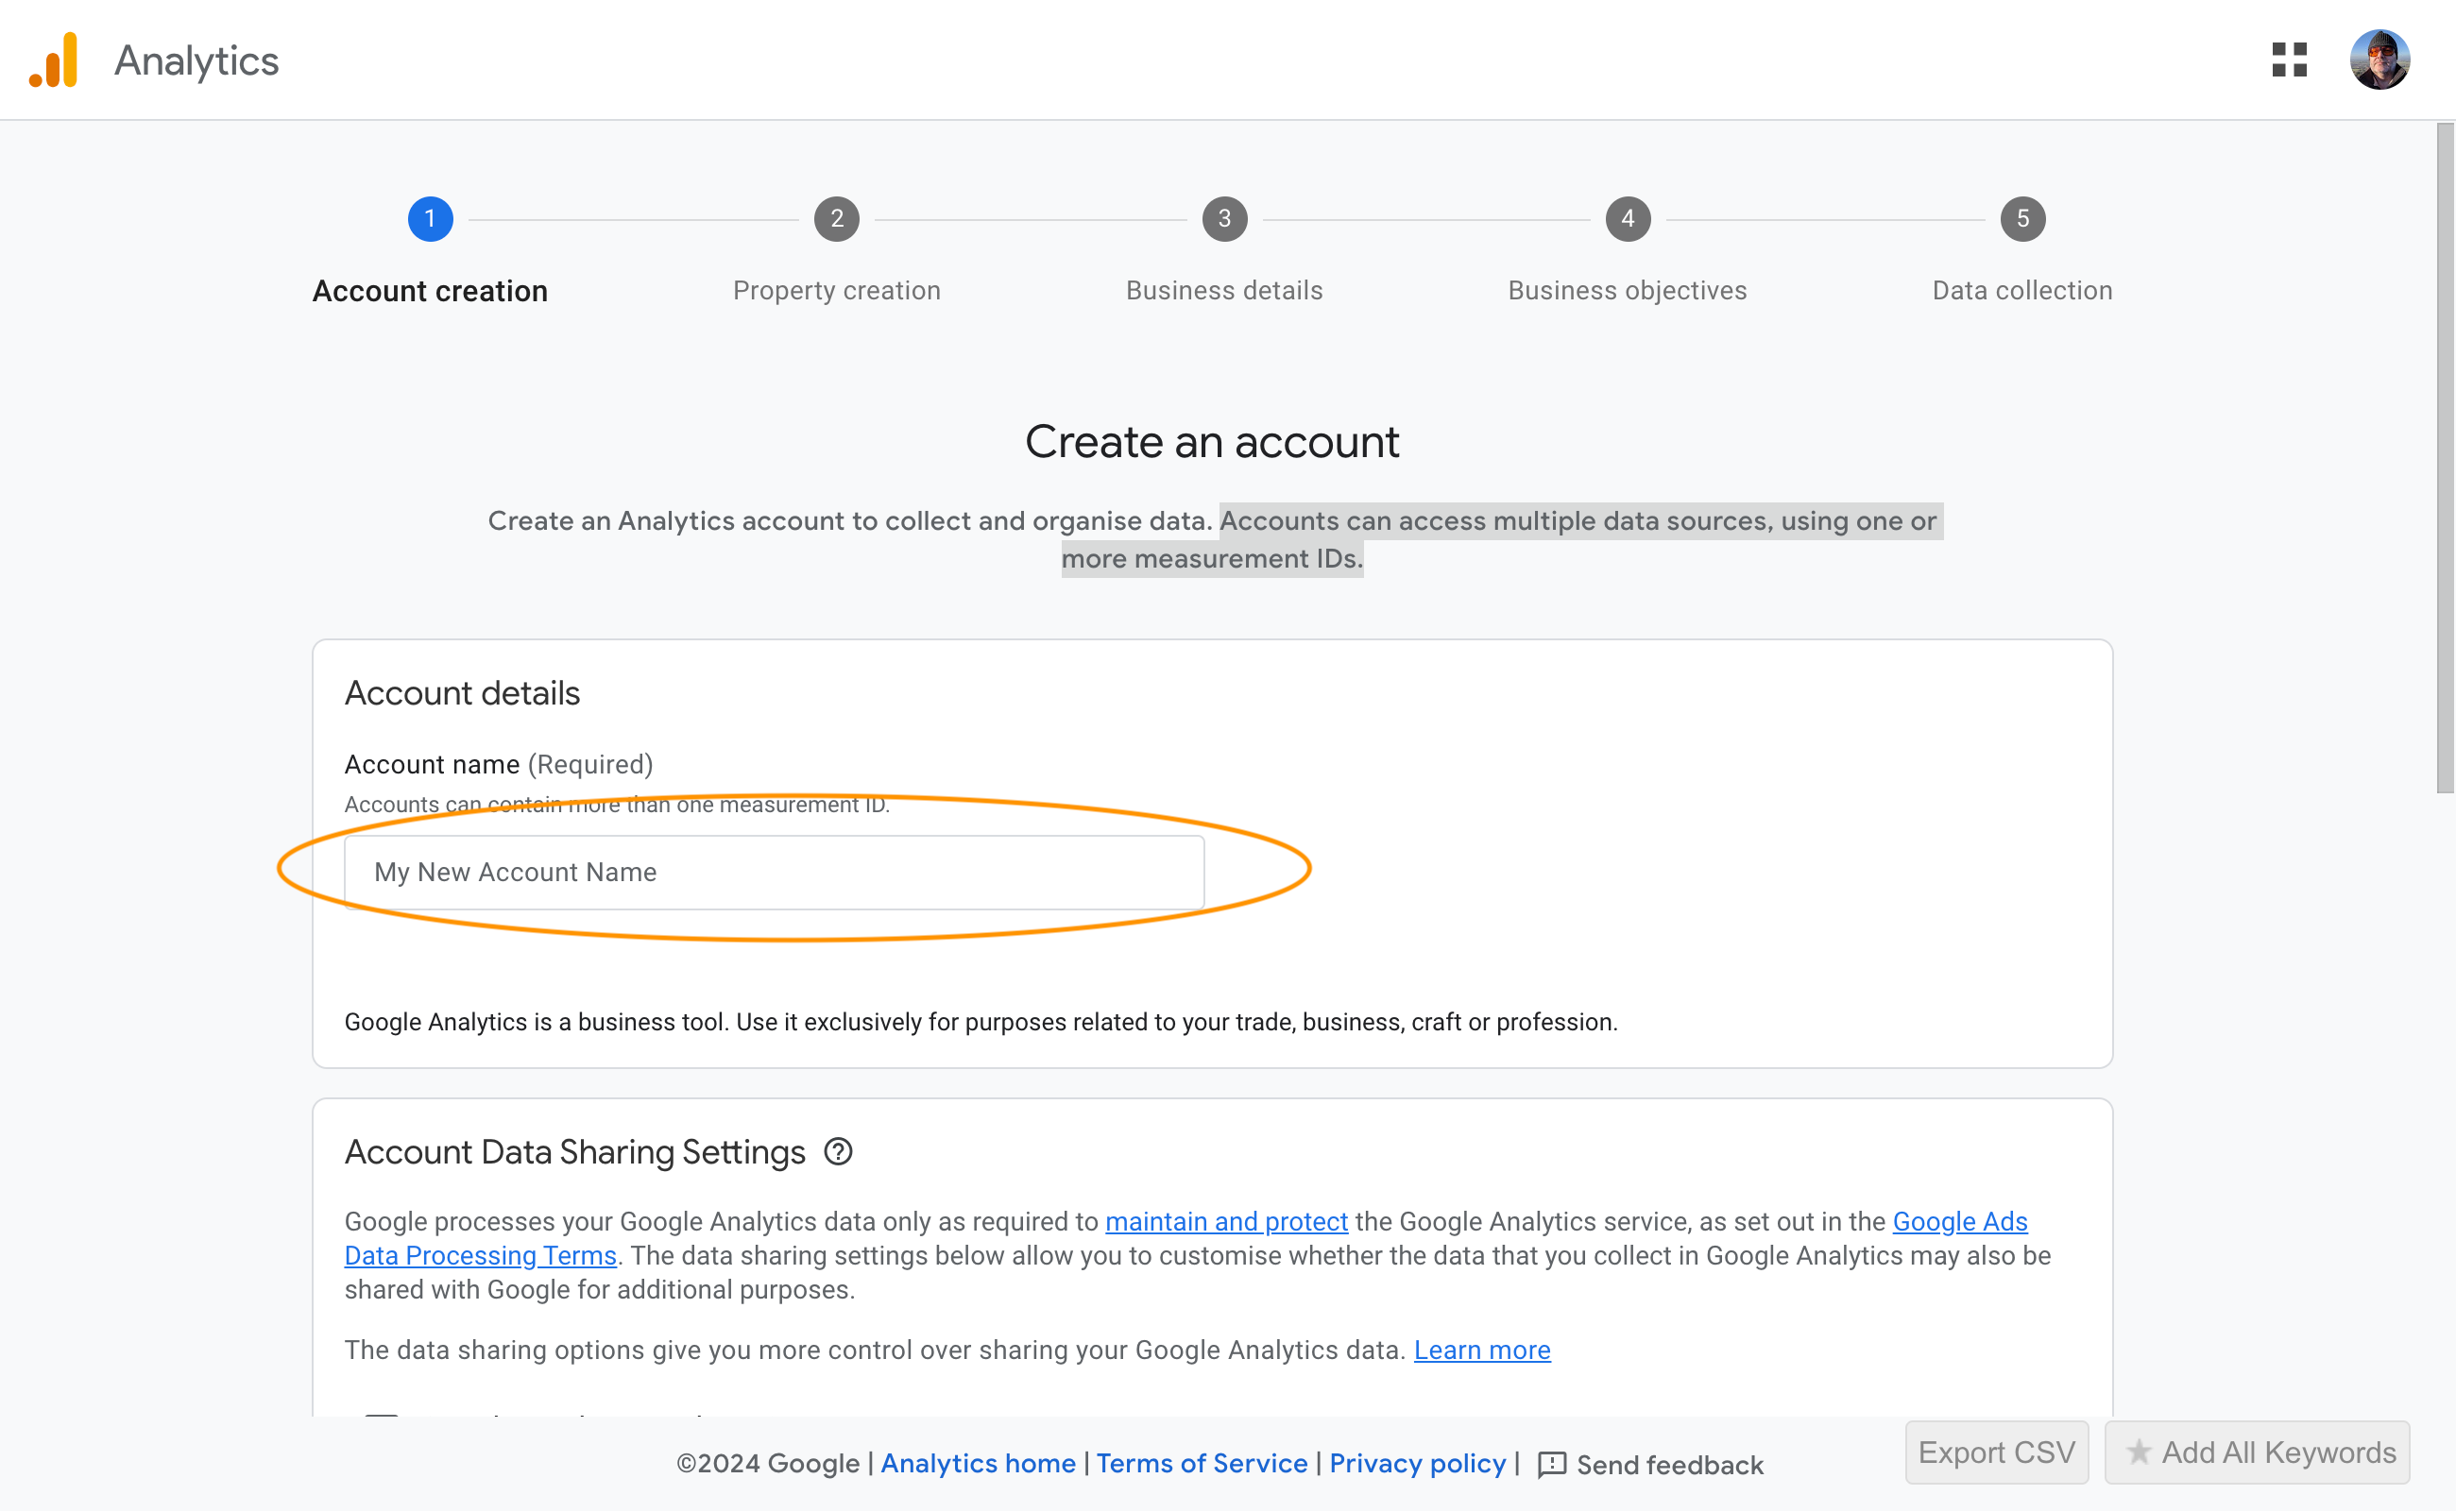
- Click Start Measuring to begin.
- Give your account a name — your business name or site name works well. A single account can contain multiple properties and measurement IDs.
- Configure account data-sharing settings as needed, then click Next.
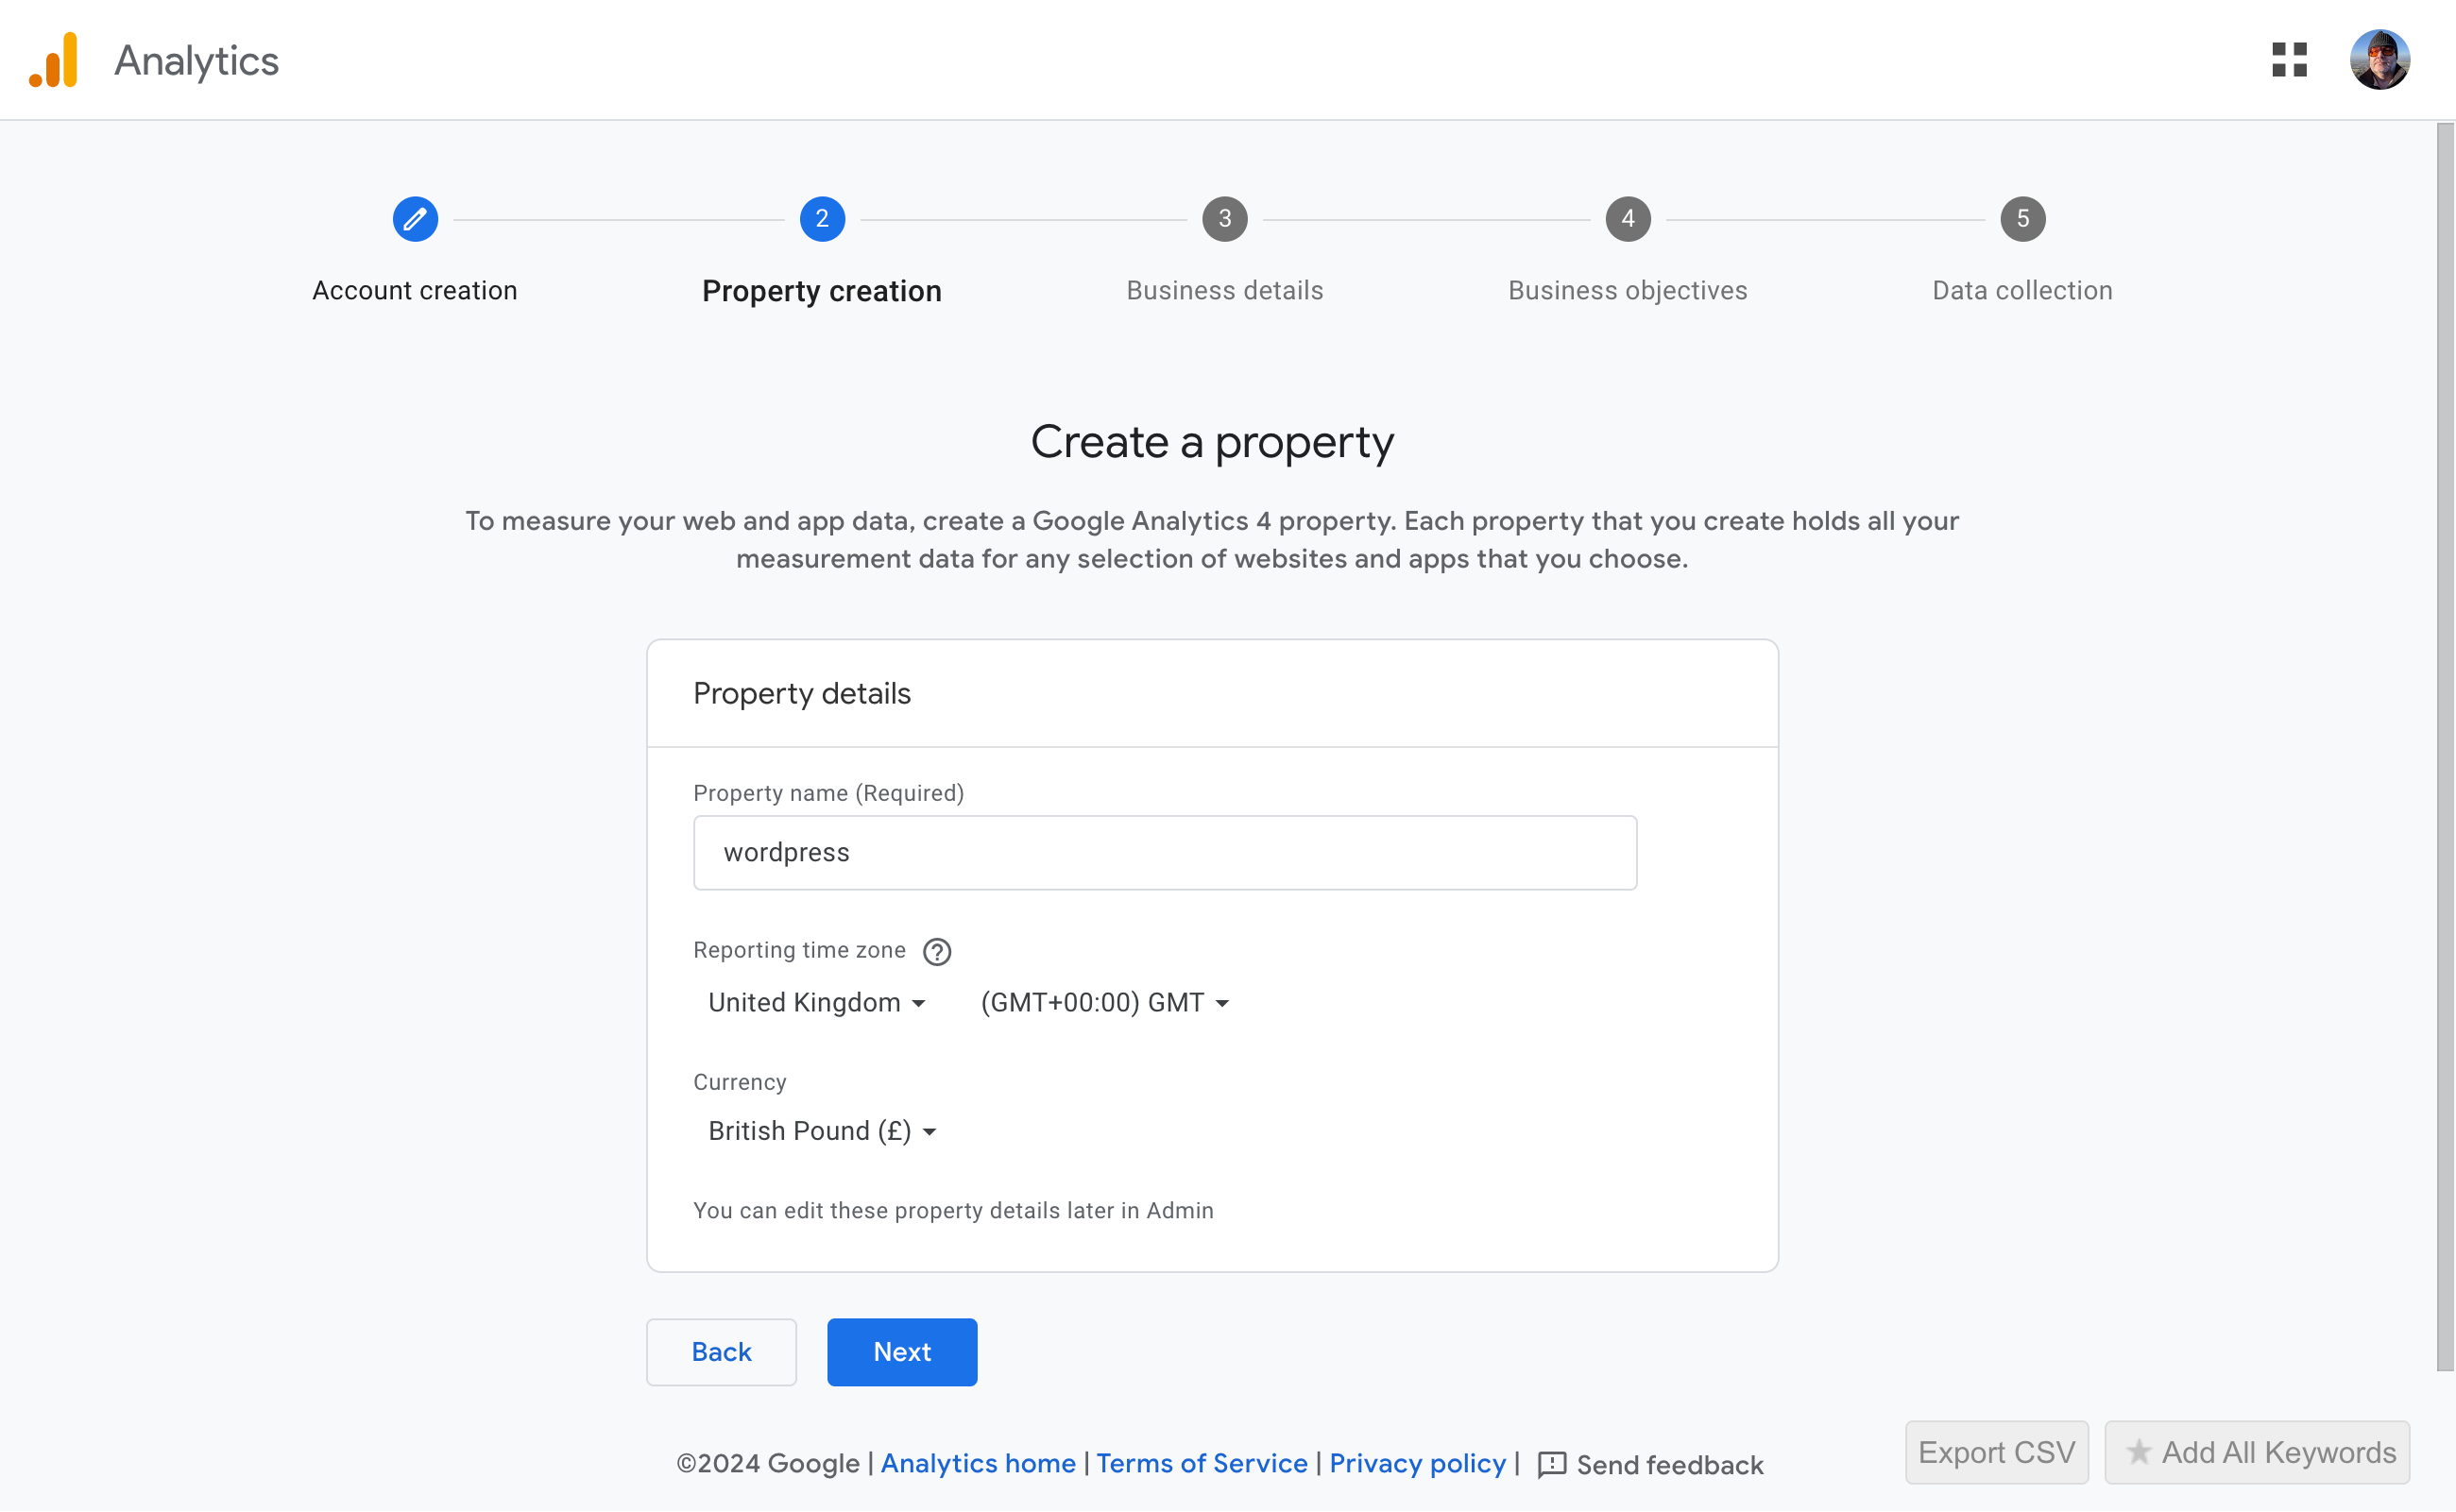
4. Property Setup
Any new property you create will be a GA4 property — there is no longer an option to create a Universal Analytics property. Each GA4 property holds all measurement data for the websites and apps you associate with it.
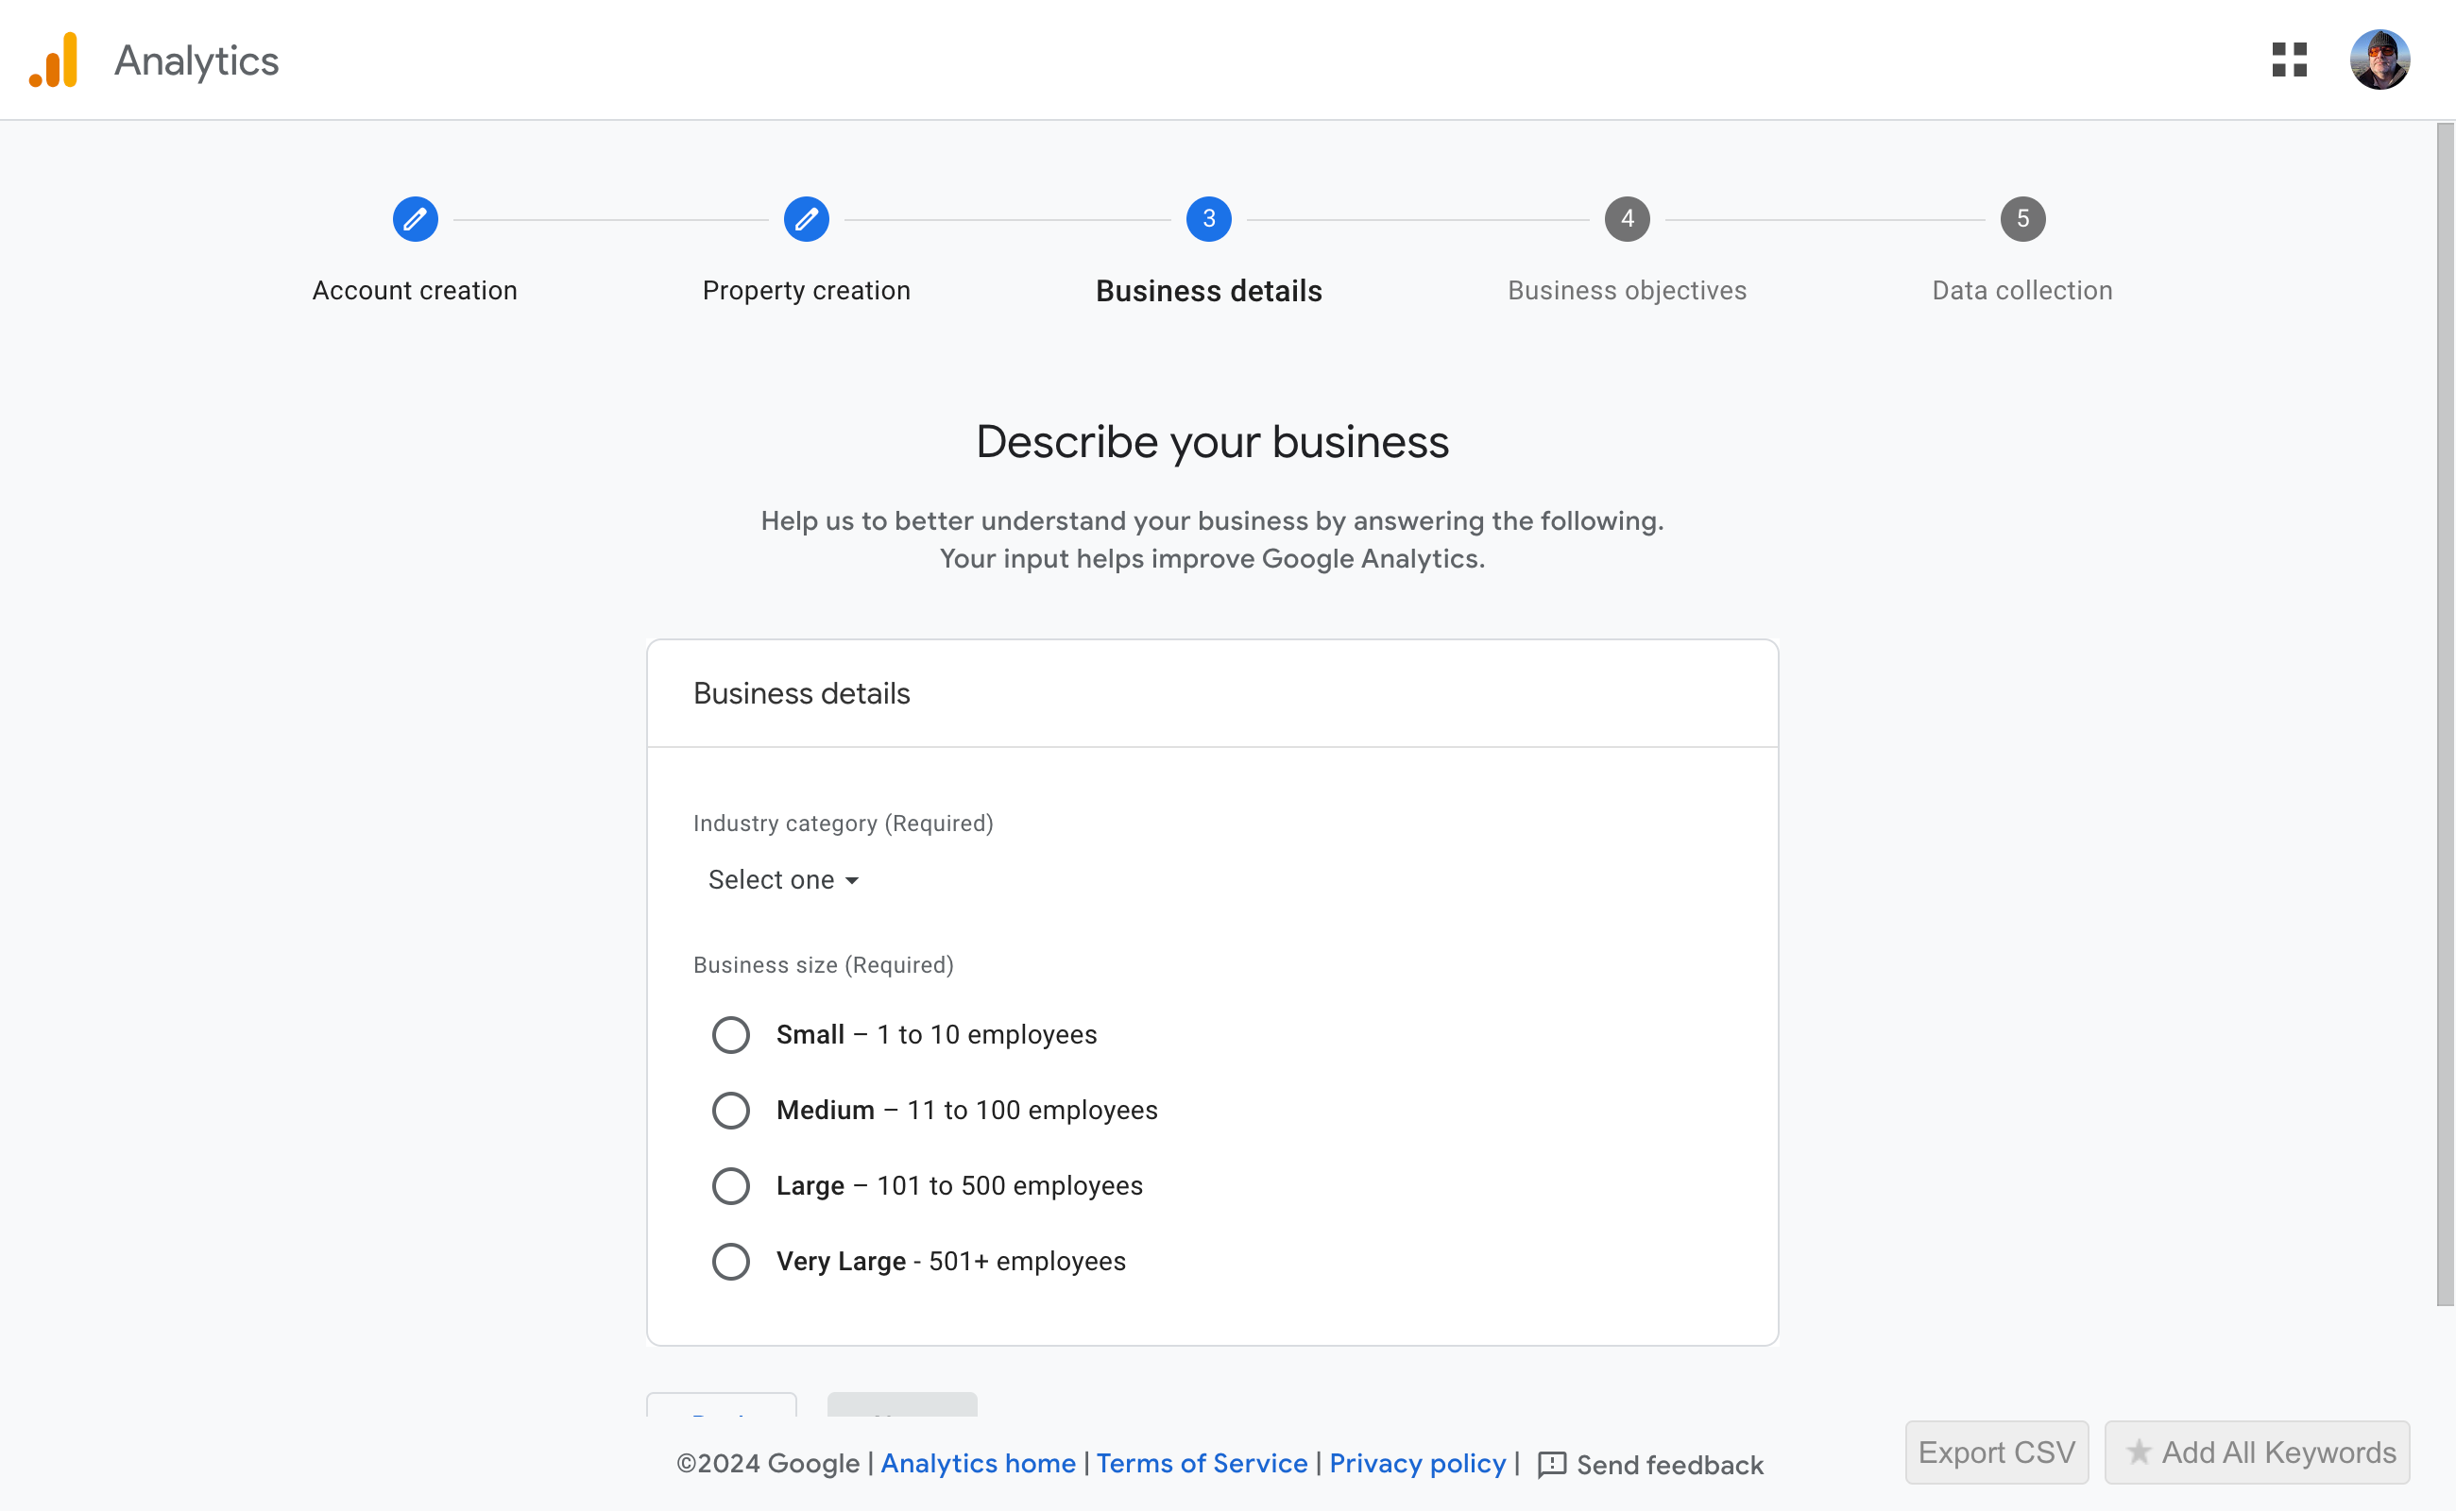
Describe your business when prompted and click Next. If you'd rather not share this information, it's worth pausing to consider whether GA4 is the right fit — it is fundamentally designed around understanding how people interact with your business.
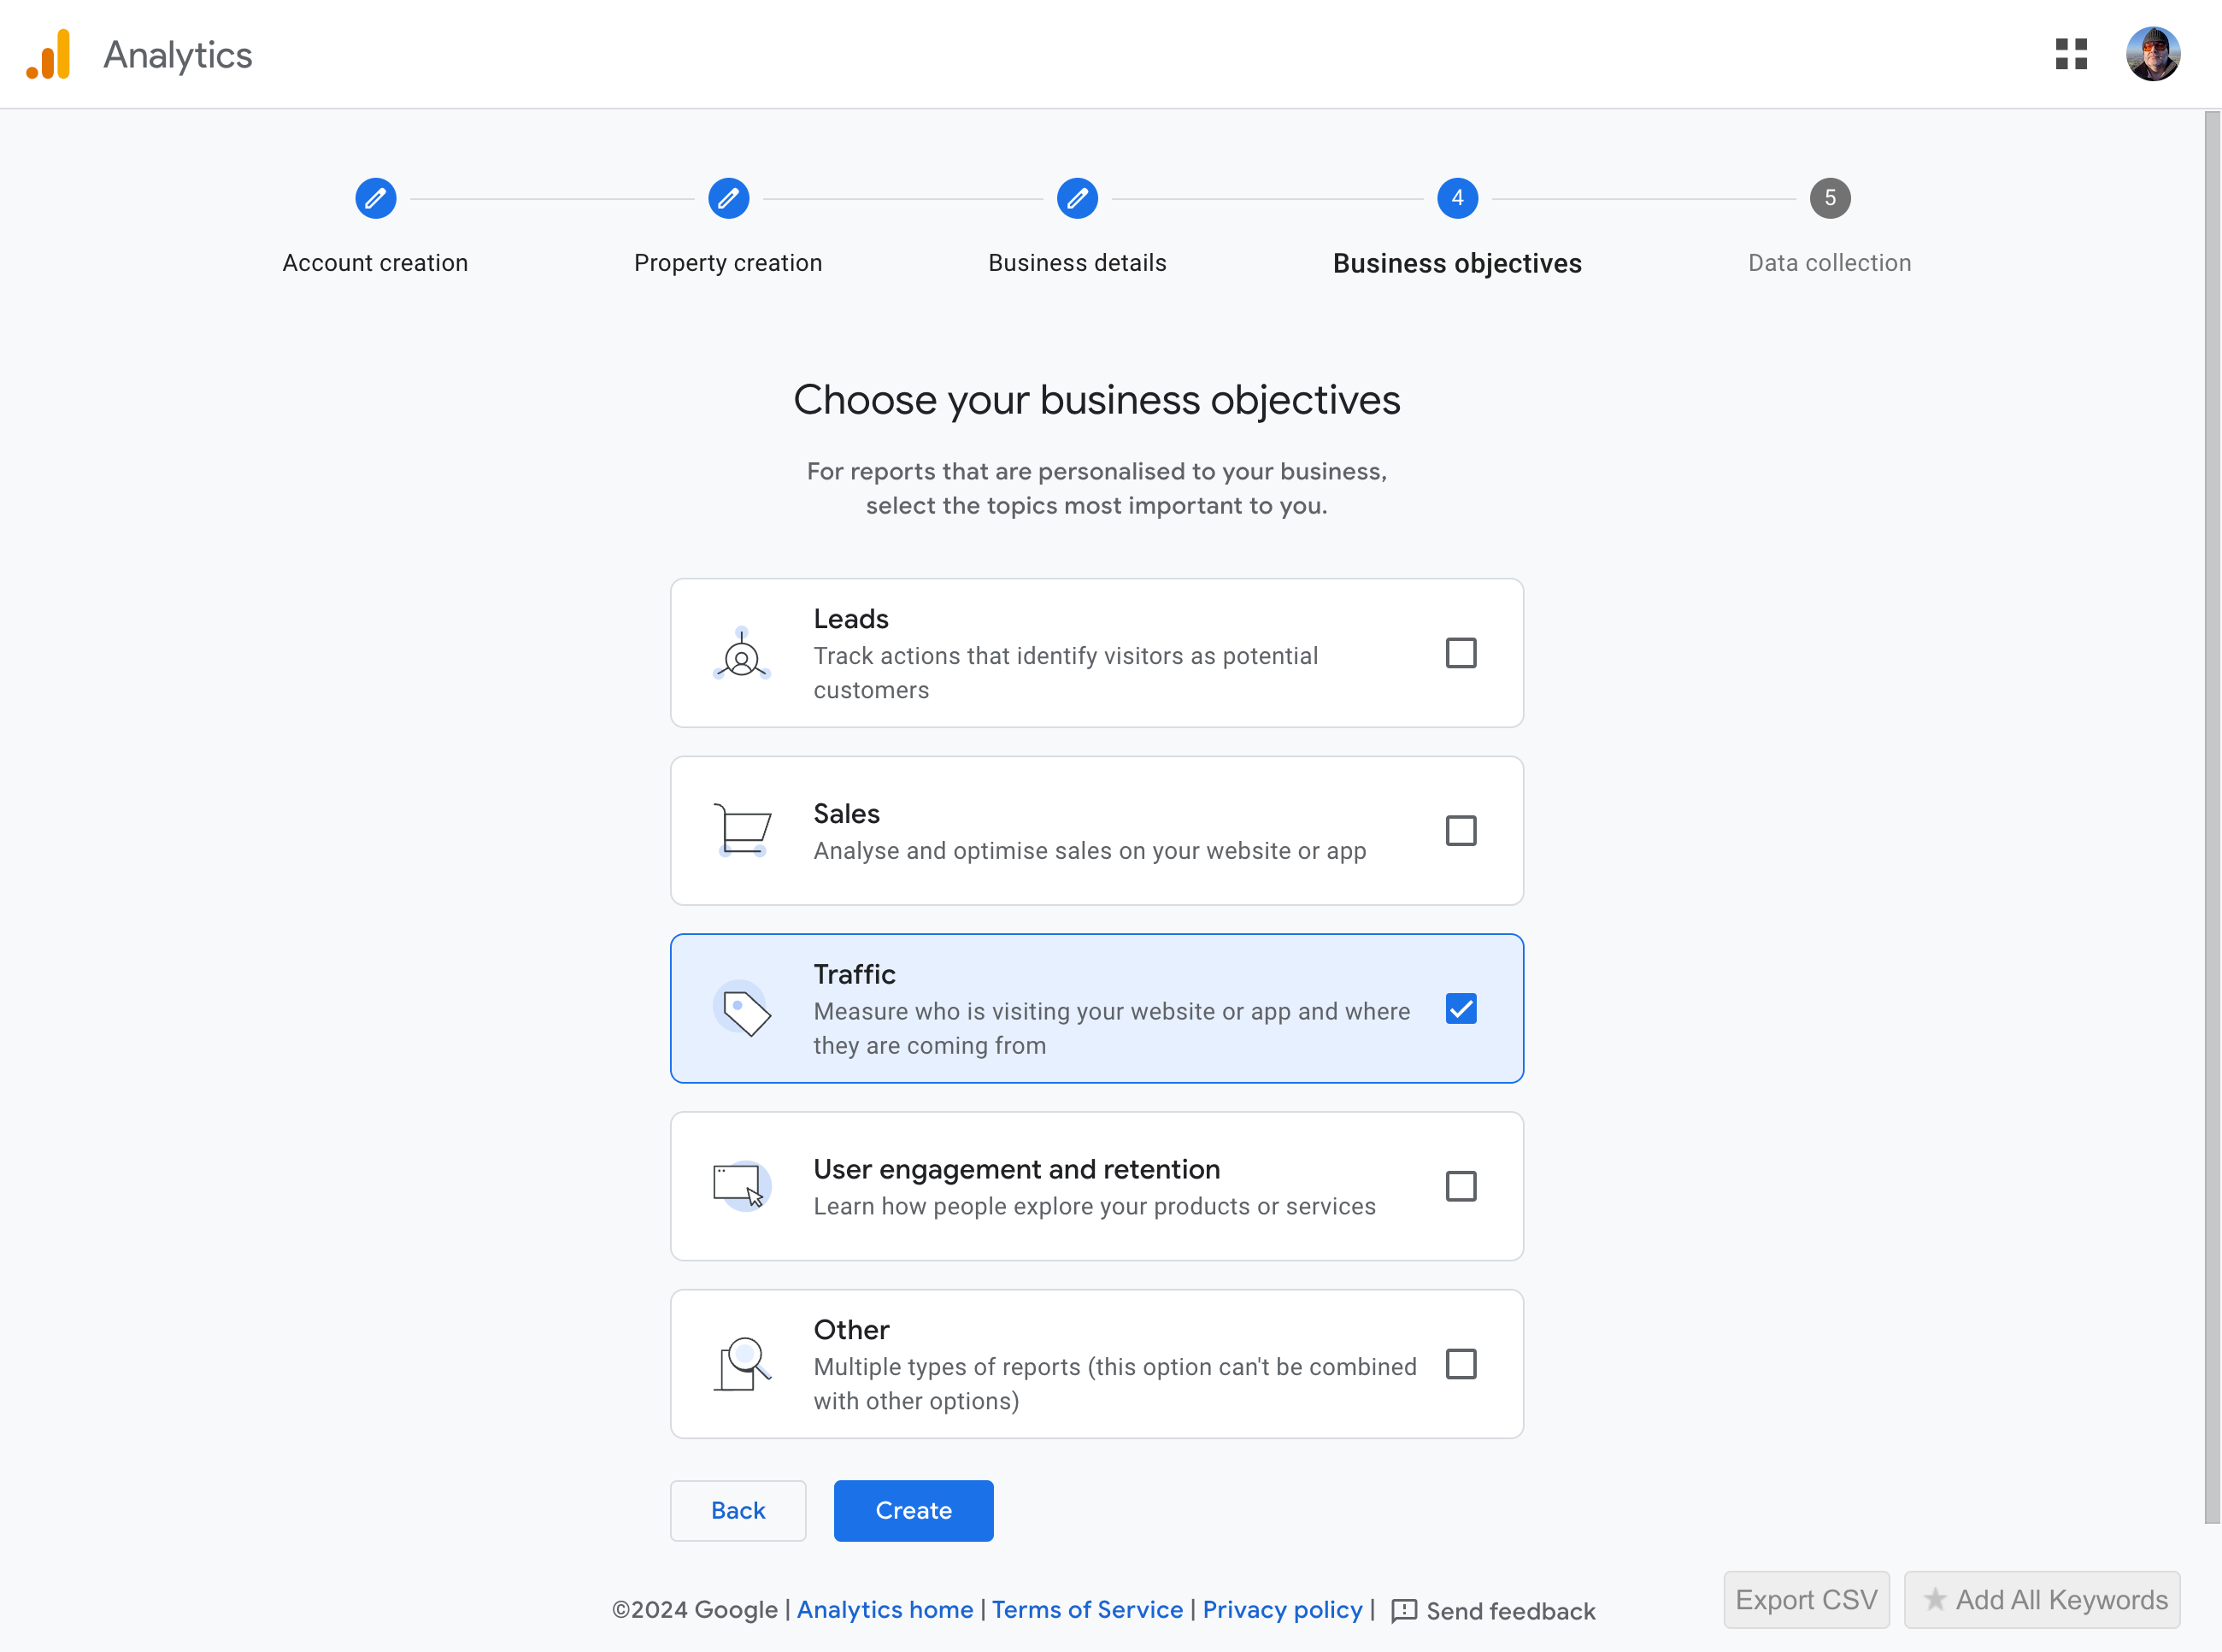
Choose your business objective:
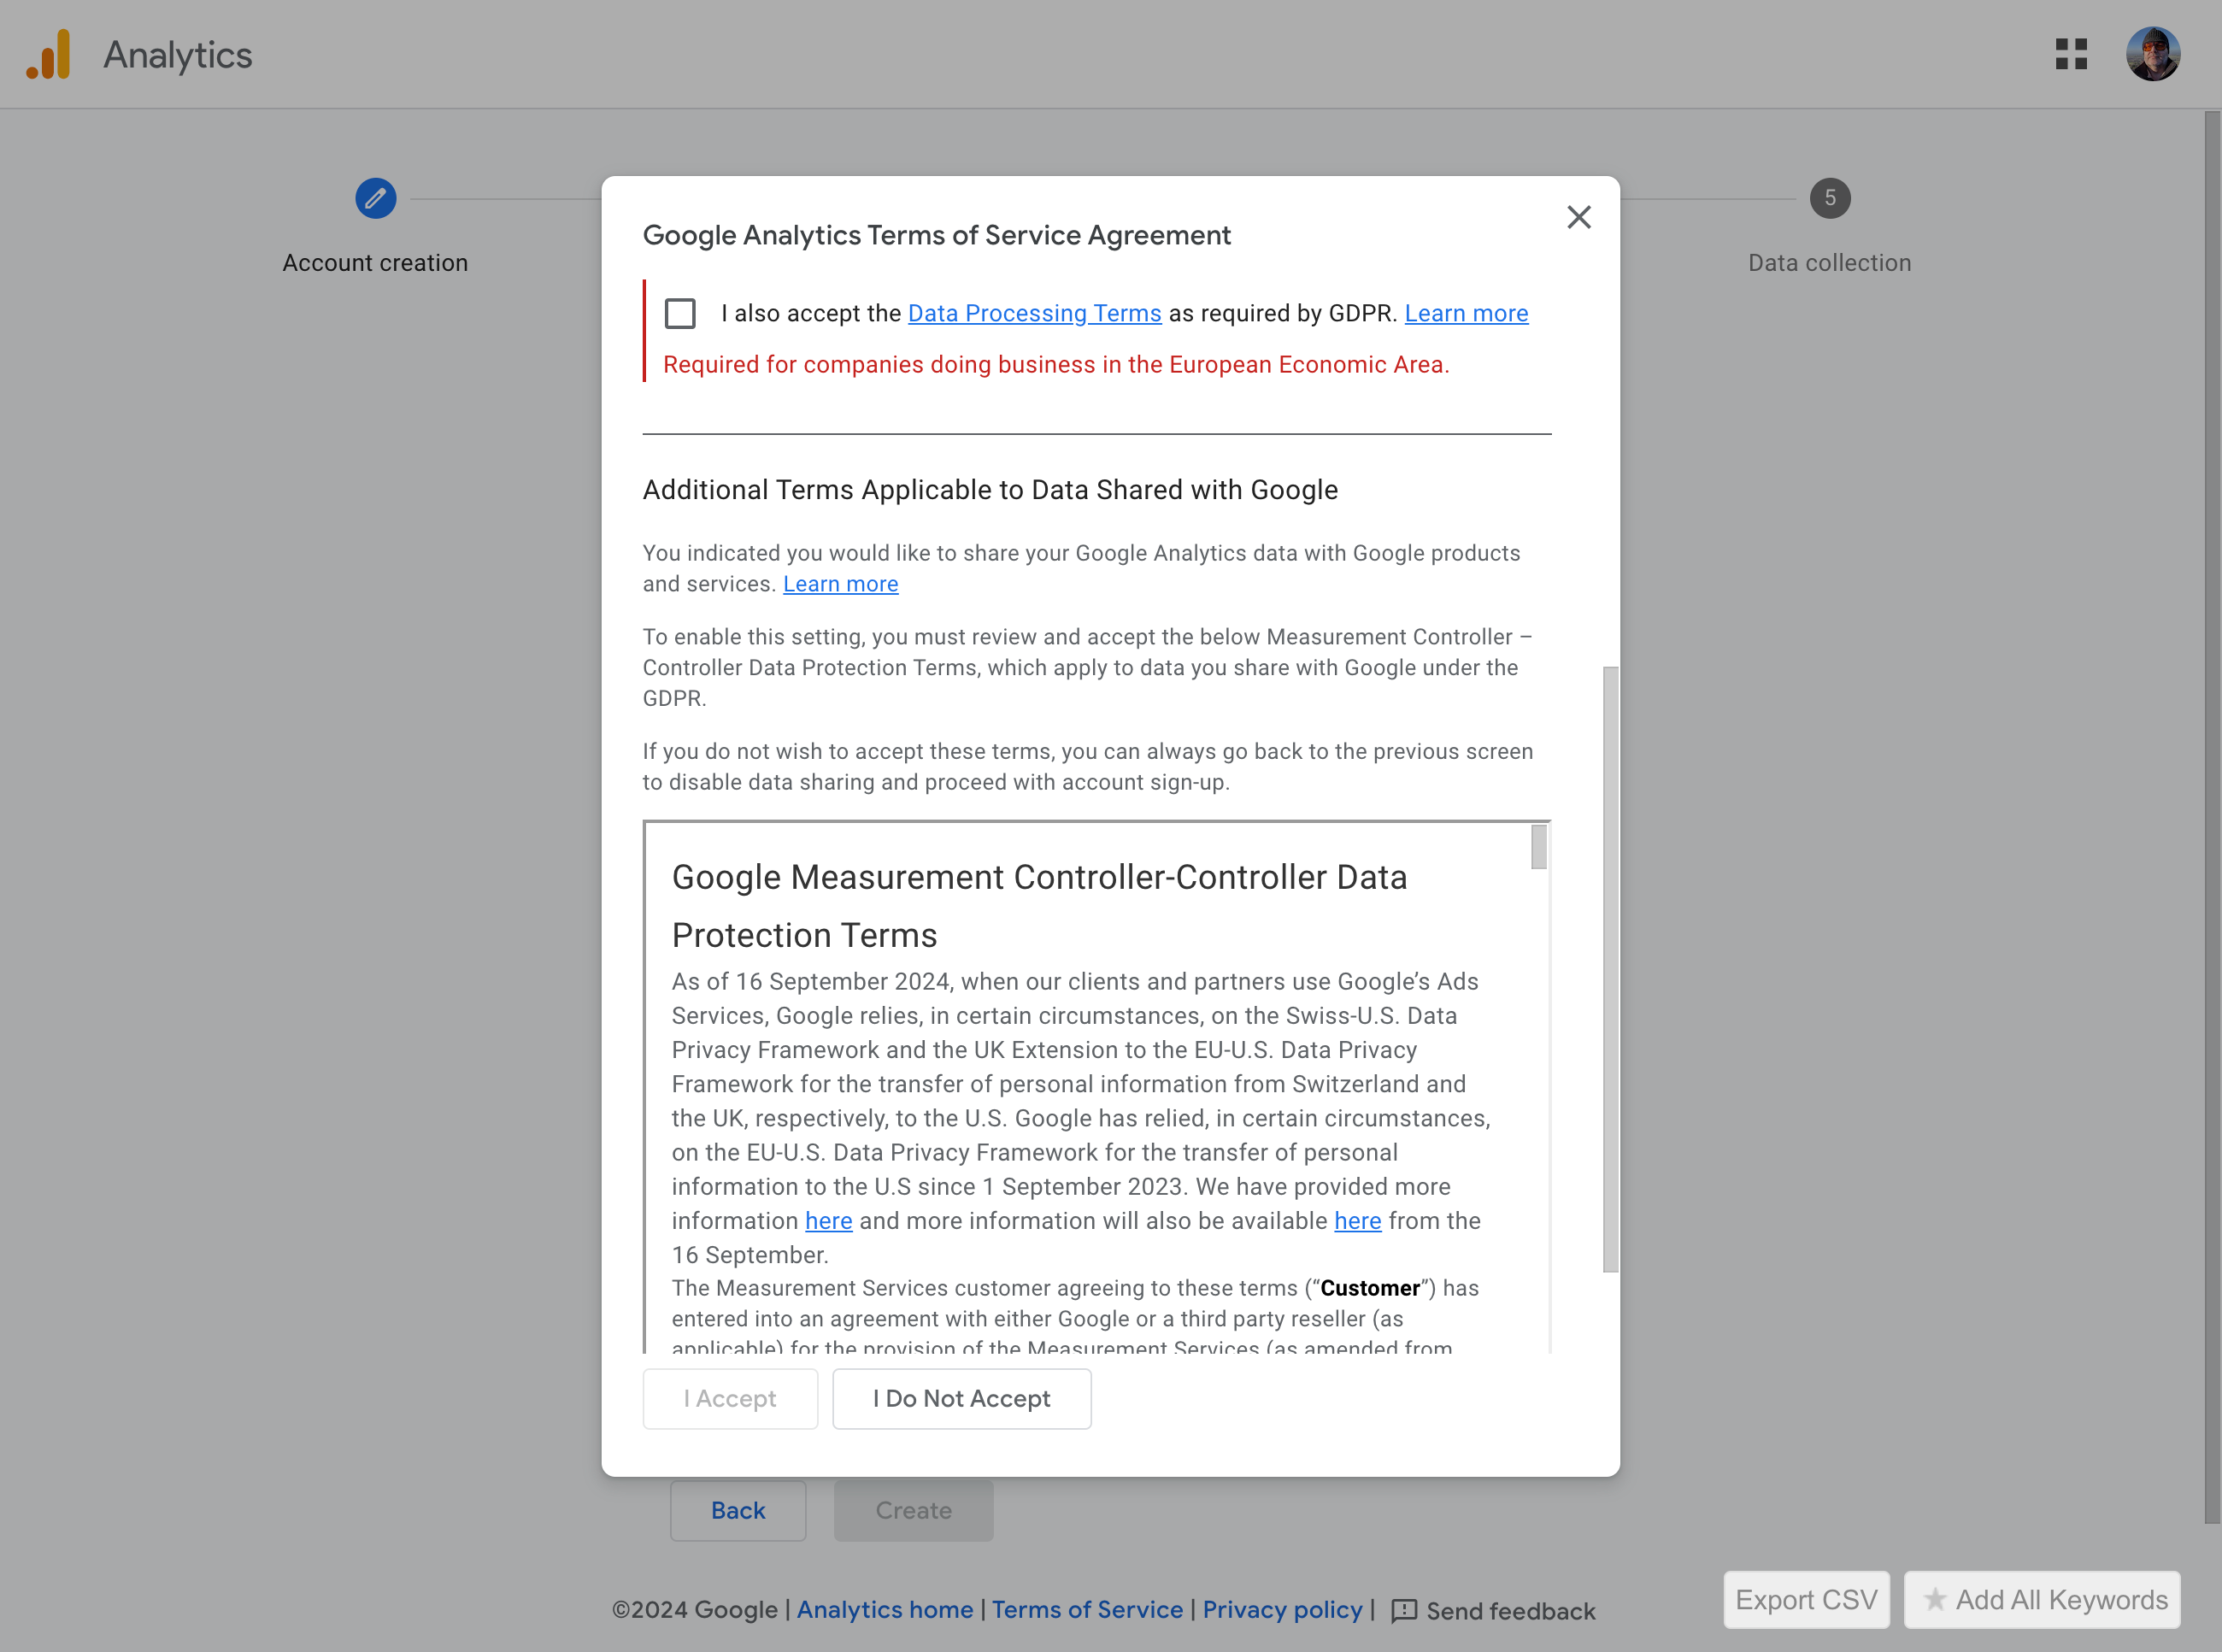
Accept the terms of service:
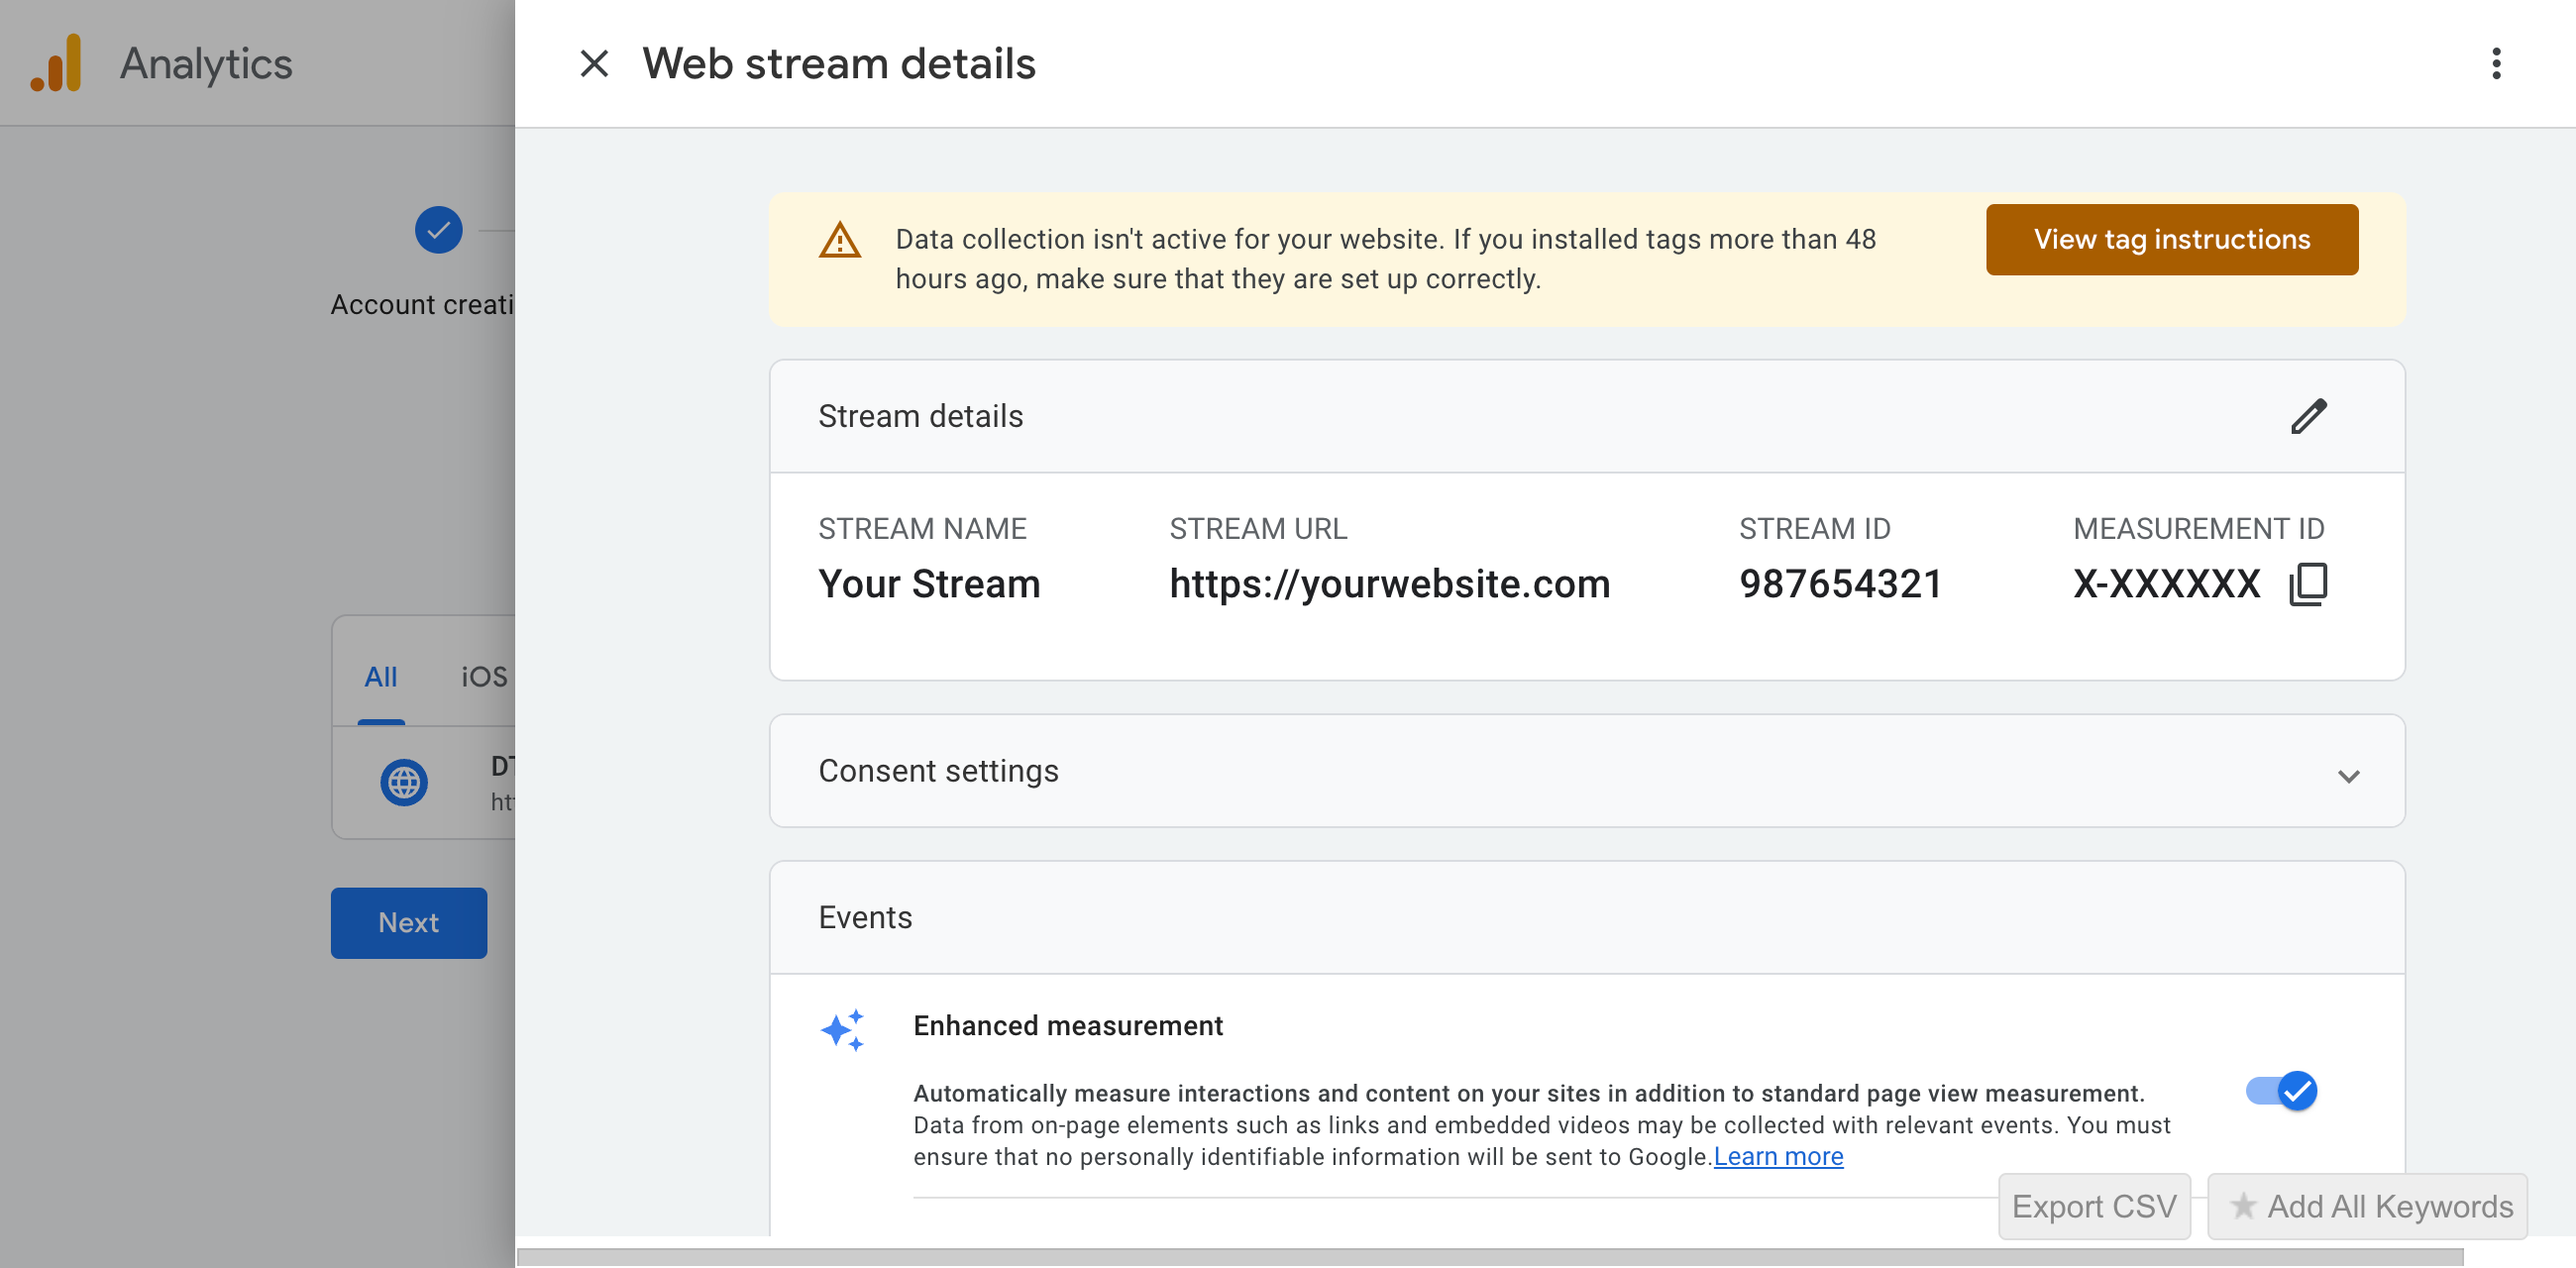
Once the property is created, Google Analytics will assign it a unique Measurement ID (in the format G-XXXXXXXXXX). This is what links your website's data stream to your GA4 property.
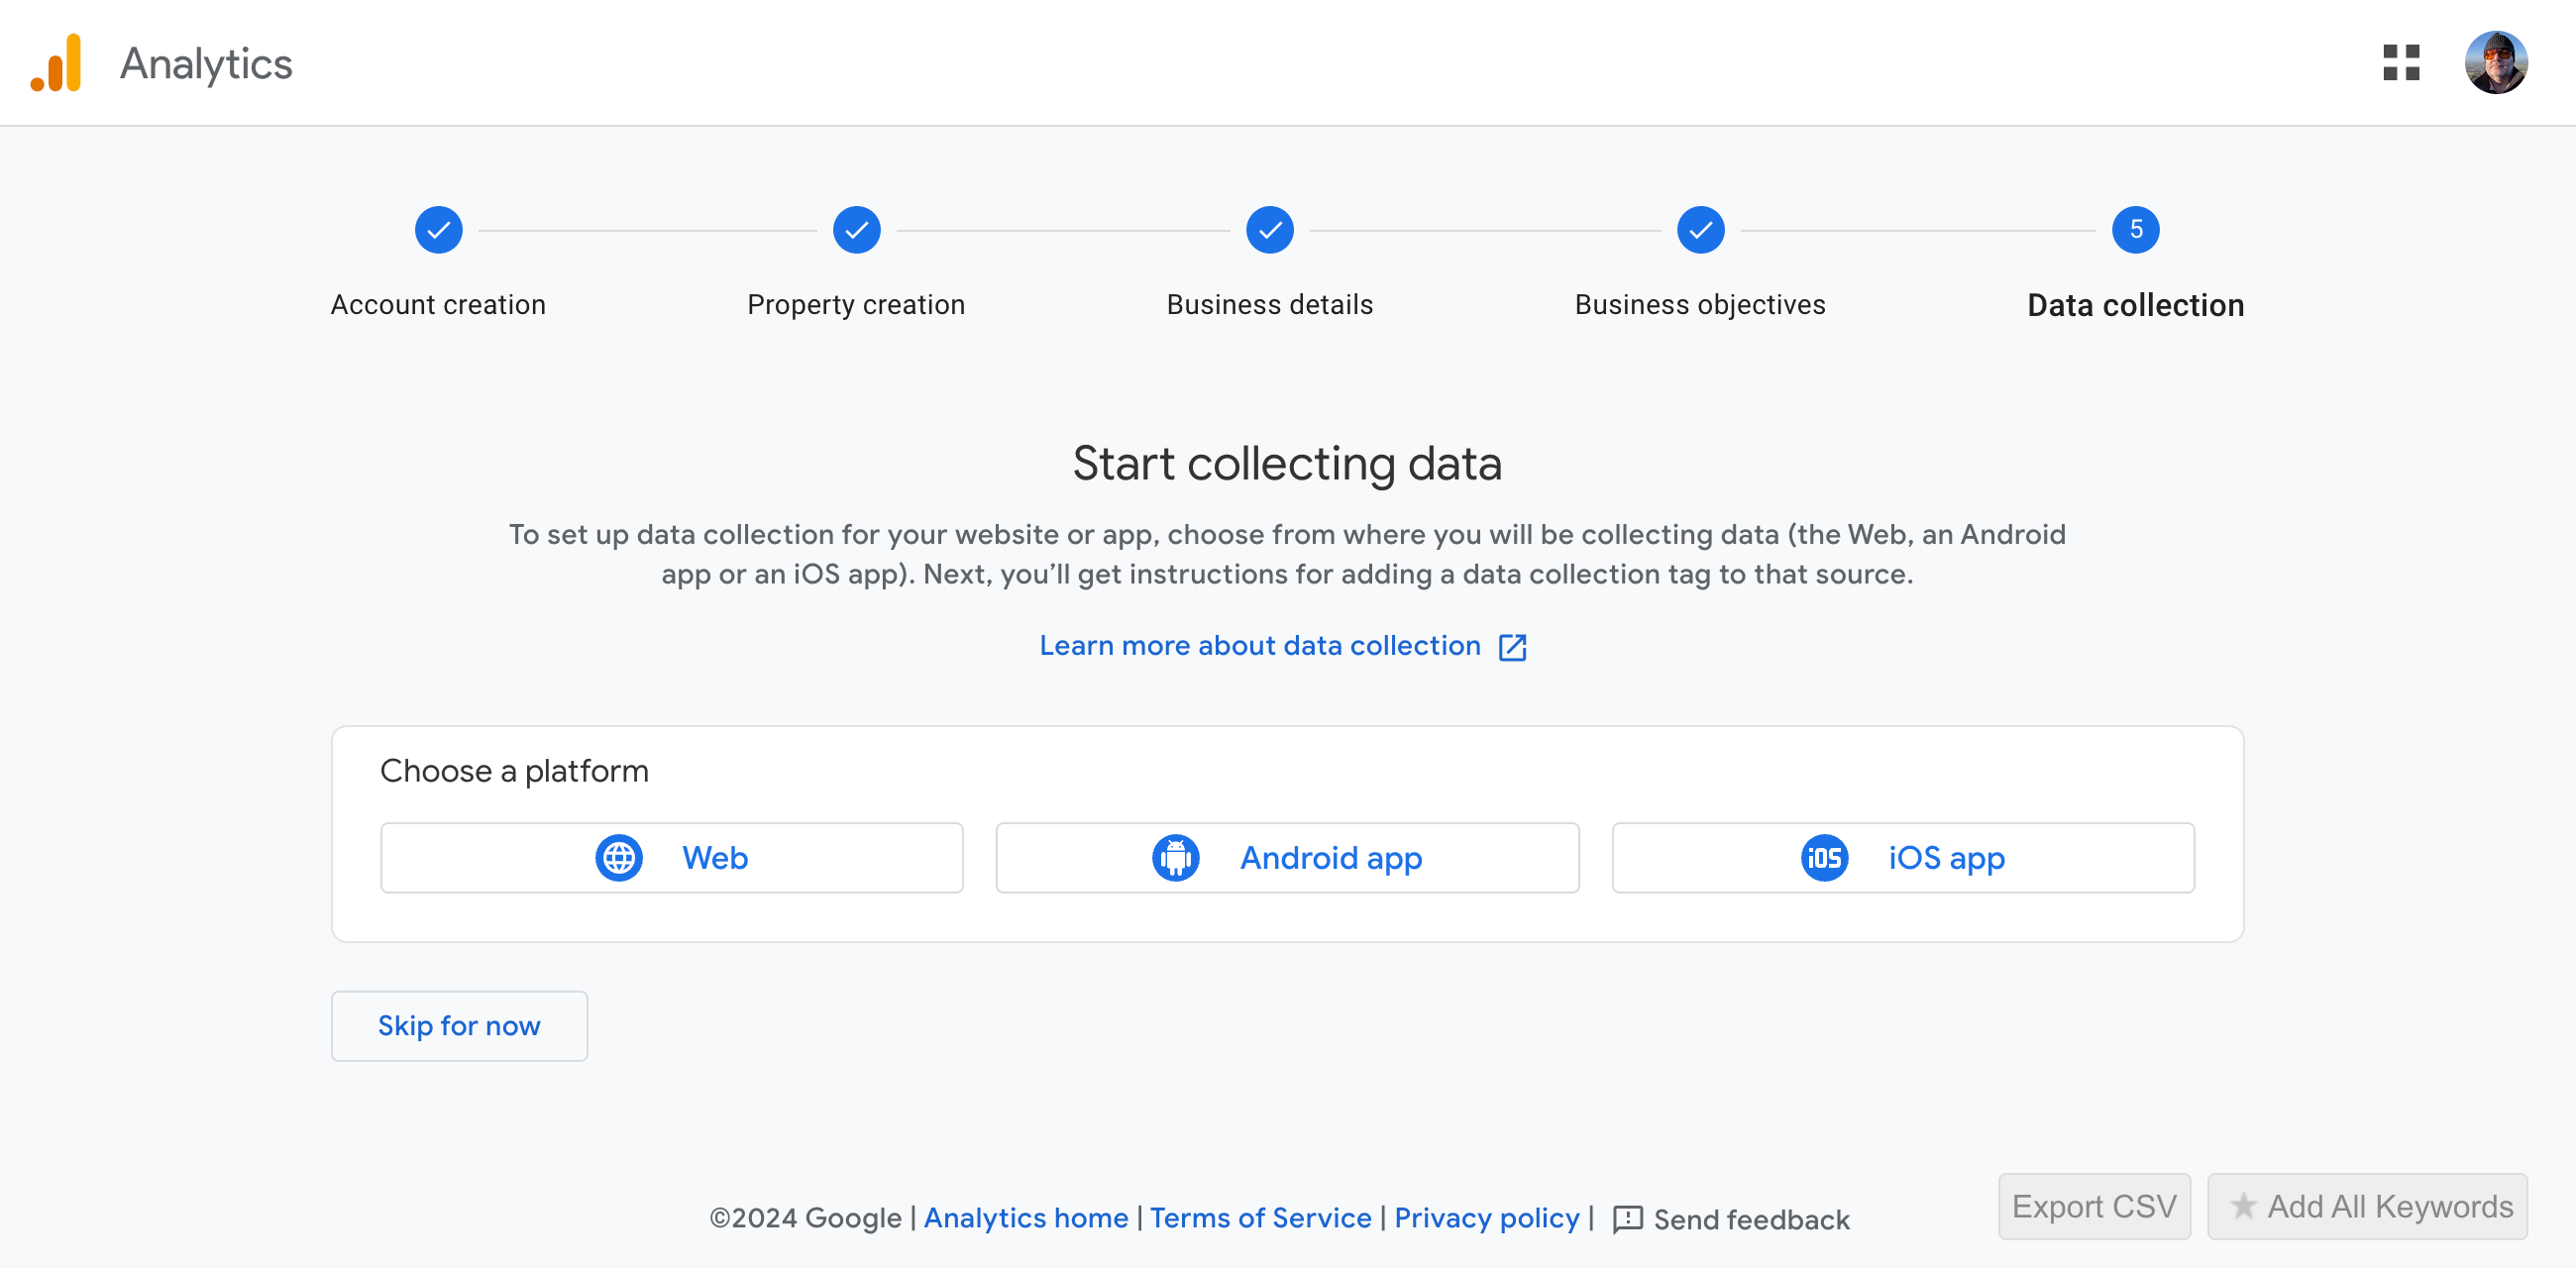
5. Start Collecting Data
Choose a platform — select Web.
Set up your data stream:
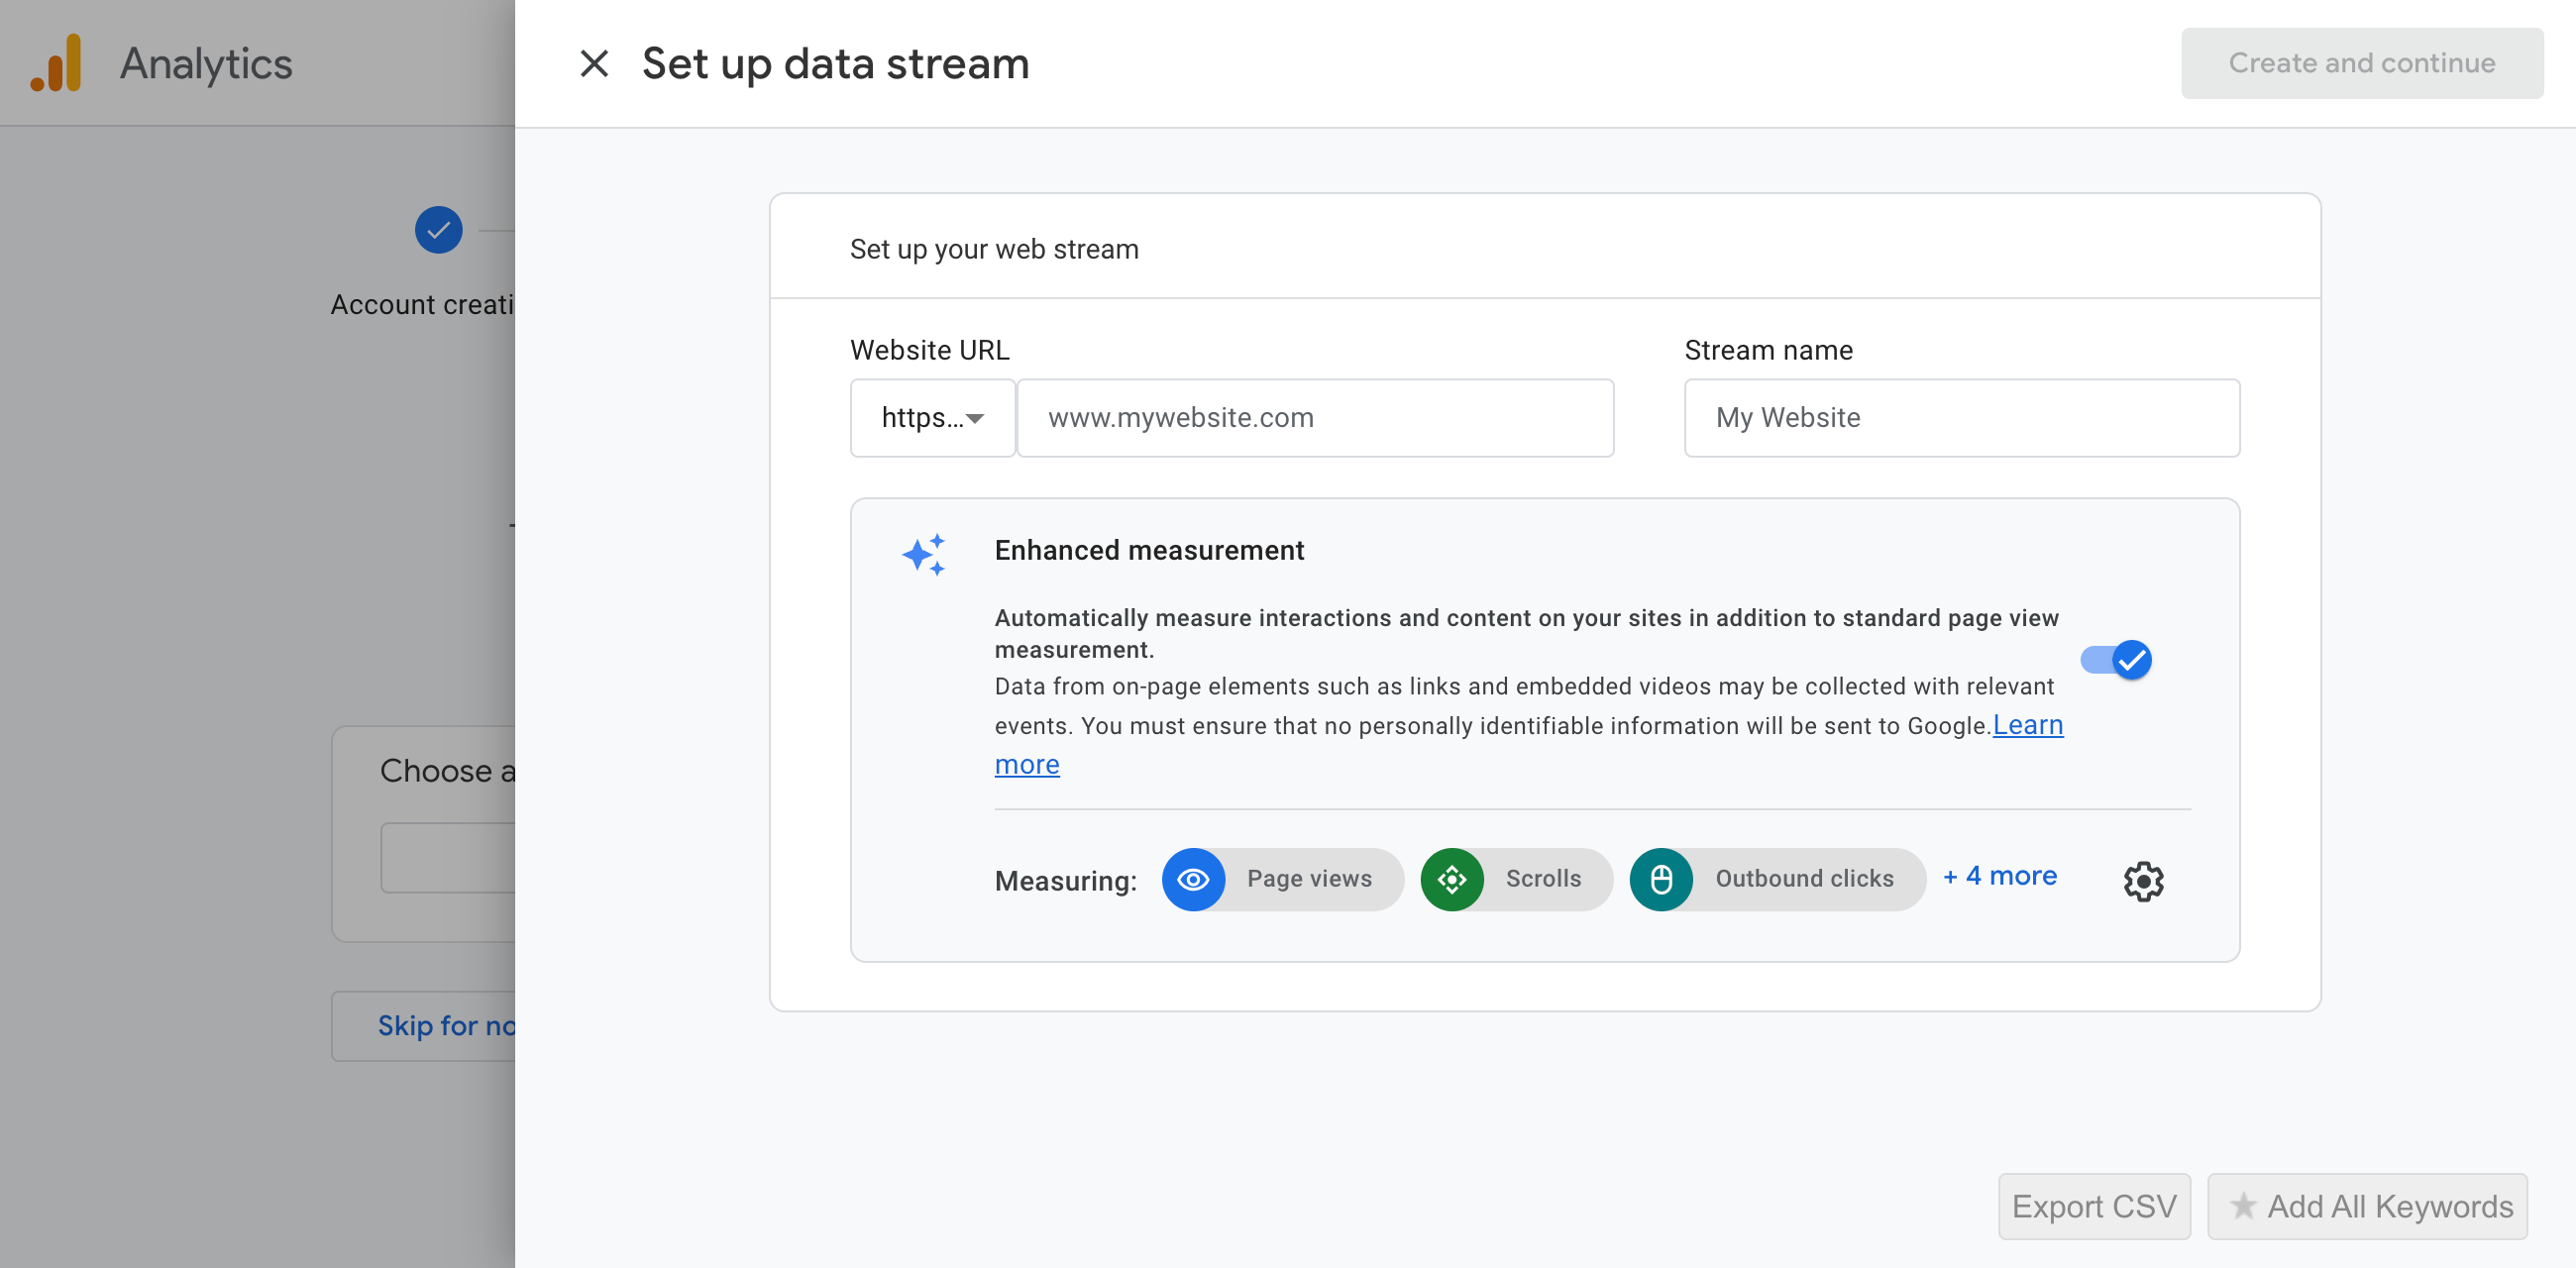
- Enter your website URL.
- Give the stream a descriptive name.
- Leave Enhanced Measurement enabled — it automatically tracks page views, scrolls, outbound clicks, file downloads, and more without any additional configuration.
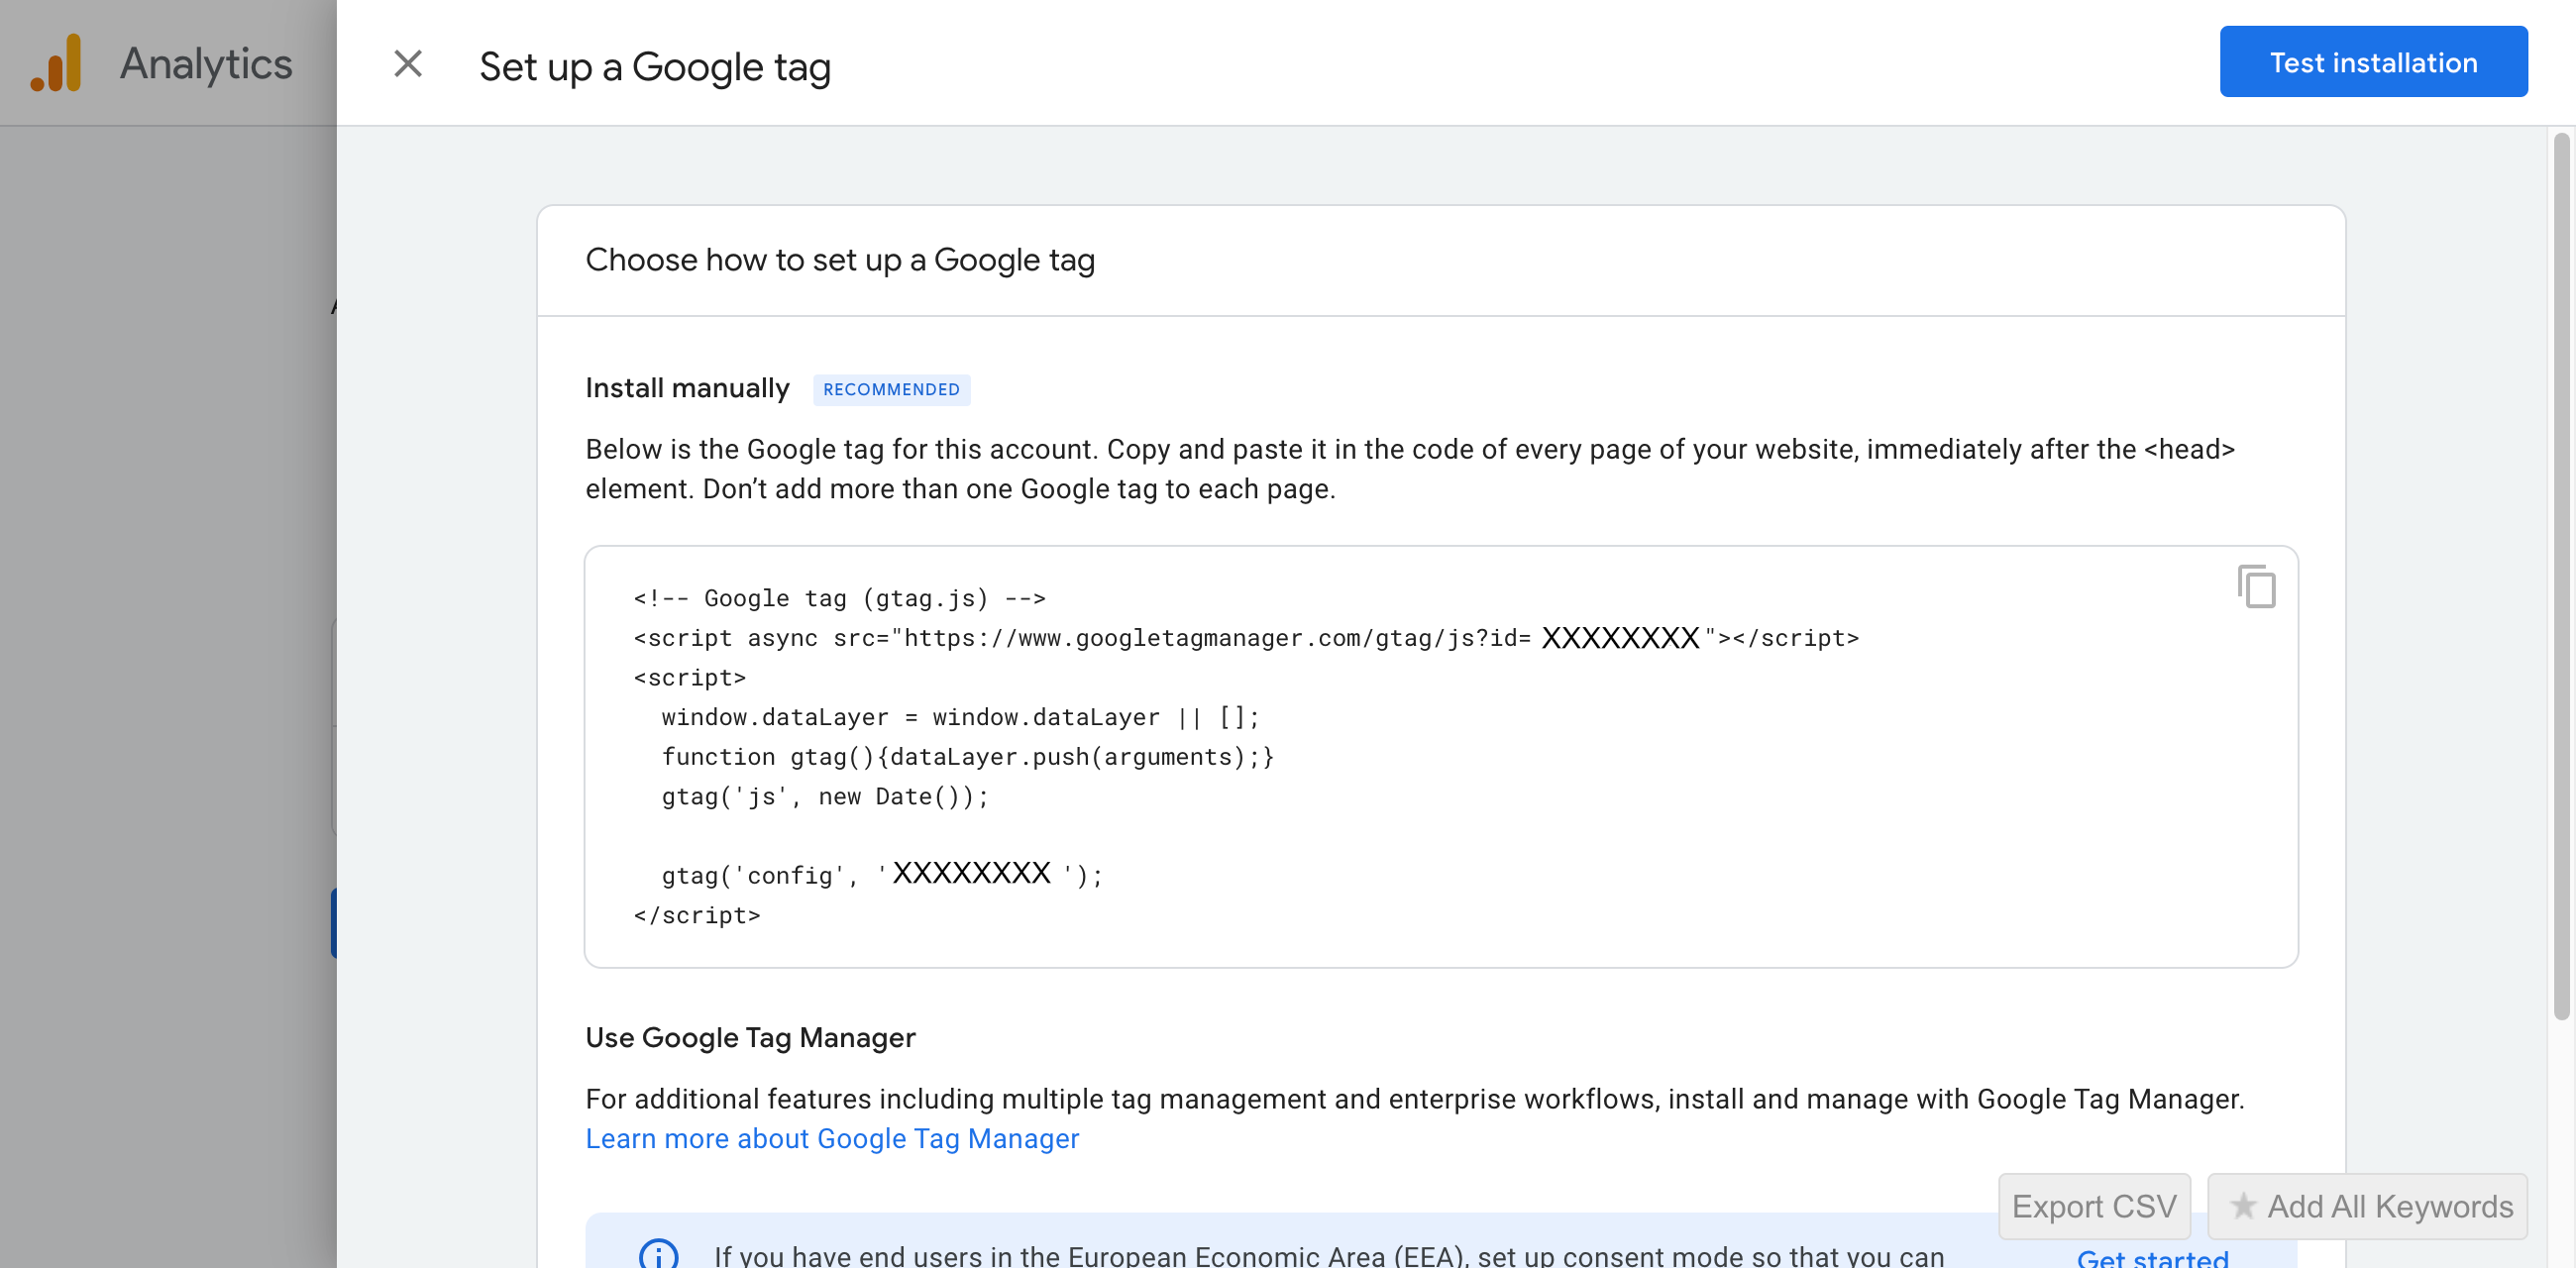
Set up a Google tag:
View your web stream details to confirm everything is in place:
6. Installing Google Analytics on WordPress
There are two ways to get GA4 running on a WordPress site:
- Manual Integration: Adding the Google tag directly to your theme files.
- Plugin Integration: Using a plugin to handle the tag insertion automatically — no code editing required.
Manual integration gives you direct control but requires comfort with editing theme files. For most WordPress site owners, a plugin is the faster, safer, and more maintainable route.
7. Manual Integration Method: Inserting the Google Tag
If you prefer the manual approach:
- In your WordPress dashboard, go to Appearance > Theme Editor and open the header.php file. Note that some modern themes and block-based themes handle this differently — check your theme's documentation if you can't find header.php directly.
- Paste the Google tag snippet (found in your GA4 data stream details under Tagging Instructions > Install manually) immediately before the closing
</head>tag. - Save the changes.
A cleaner alternative for manual setups is to use Google Tag Manager — add a single GTM container snippet to your site and manage all your tags, including your GA4 configuration tag, from within the Tag Manager interface. This avoids repeated theme edits whenever tracking requirements change.
8. Installing Google Analytics Using a Plugin
Plugins are the recommended approach for most WordPress users. The standout option is Google's own:

- Site Kit by Google: The official Google plugin. It connects GA4, Google Search Console, AdSense, and PageSpeed Insights directly into your WordPress dashboard, giving you a single place to monitor key metrics without leaving WordPress.
- Go to Plugins > Add New Plugin in your WordPress dashboard.
- Search for Site Kit by Google.
- Click Install Now, then Activate.
Click Start setup and sign in with Google to connect your account.
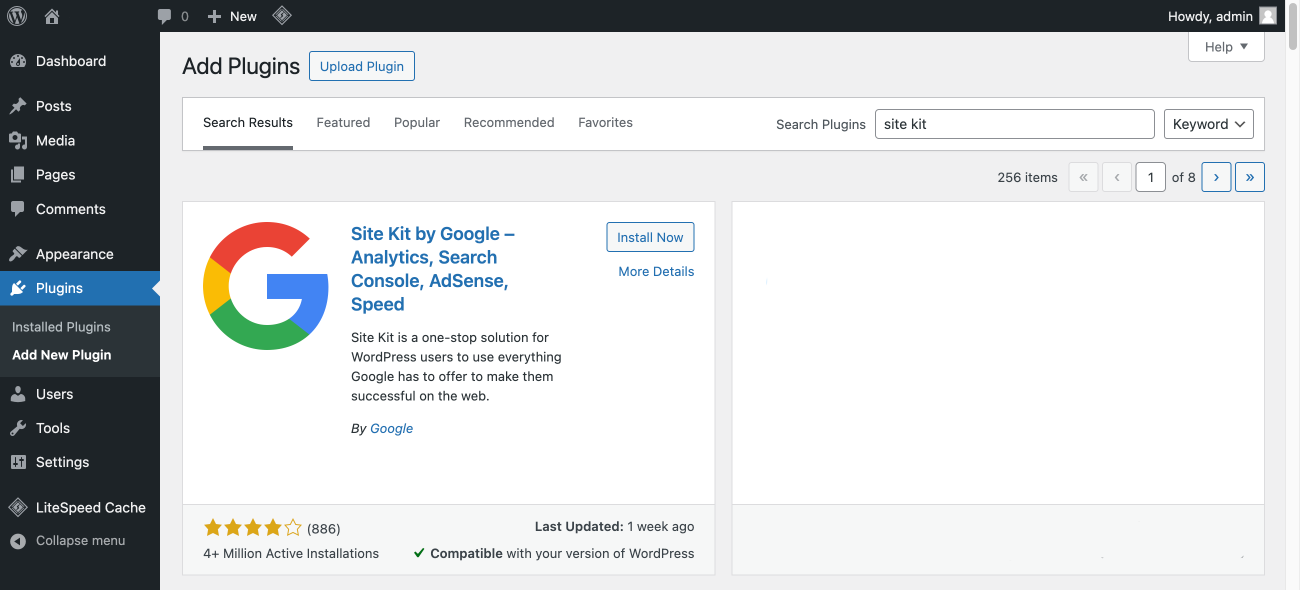
Install Site Kit by Google — Analytics, Search Console, AdSense, Speed (screenshot) 
Setup Site Kit by Google (screenshot) - Connect Google Analytics during the setup wizard. Site Kit will place the GA4 tag on your site automatically.
- If your WordPress site has multiple administrators, each admin needs to connect their own Google account to access Site Kit's data within the dashboard.
- You can optionally share anonymous usage data to help improve Site Kit.
- Once setup is complete, the main Site Kit dashboard shows key metrics from Search Console immediately. GA4 data appears once the tag has had time to collect it.
- Connect additional Google tools — such as AdSense or PageSpeed Insights — under Site Kit > Settings at any time.
- MonsterInsights: A well-established third-party plugin with a strong visual reporting interface built into WordPress. A good option if you want richer in-dashboard reports beyond what Site Kit provides, though the most useful features sit behind its paid tier.
Once setup is complete, you should see confirmation that Google Analytics is gathering data. Allow up to 48–72 hours before meaningful data appears in your GA4 reports.
9. Verifying Proper Installation
Once your tag is in place, you'll want to confirm it's actually firing correctly before you start relying on the data. The right tool for this in 2026 is Google Tag Assistant.
Google has consolidated its tag debugging tools: the old Tag Assistant Legacy and Tag Assistant Companion Chrome extensions have been merged into a single unified Tag Assistant extension. If you were using either of the legacy extensions, the combined version replaces both. Older extensions such as Google Analytics Debugger and Page Analytics — which never properly supported GA4 — should be removed and forgotten about.
To verify your GA4 setup with Tag Assistant:
- Install the Tag Assistant Chrome extension from the Chrome Web Store.
- Navigate to tagassistant.google.com and click Add domain, then enter your website URL.
- Tag Assistant will open your site in a connected tab and append a debug parameter (
_dbg) to your URLs to enable debug mode. - Browse your site normally. Tag Assistant will display each tag it detects, along with status codes indicating whether each tag is firing correctly, firing with warnings, or failing.
- Look for your GA4 Measurement ID (format:
G-XXXXXXXXXX) in the tag list and confirm its status is green. Any warnings or errors will be shown with detail to help you diagnose the issue. - You can also use the DebugView report inside GA4 itself (Admin > DebugView) to see events arriving in real time while Tag Assistant's debug mode is active.
As a quick sanity check, the Realtime report in GA4 will show active users on your site within the last 30 minutes — open it in one browser tab while browsing your site in another to confirm data is flowing through.
10. Configuring Basic Google Analytics Settings
With tracking confirmed, a few configuration steps will make your data significantly more reliable:
- Excluding Internal Traffic: Your own visits will inflate traffic figures if left unchecked. You can install the Google Analytics Opt-out Add-on (available from Google) on your own browser, or configure an internal traffic filter in GA4:
- In GA4, go to Admin > Data collection and modification > Data streams.
- Select your web data stream, then click Configure tag settings.
- Click Show all, then Define internal traffic.
- Click Create and give the rule a name such as Internal.
- Set the
traffic_typeparameter value — the default internal is fine.